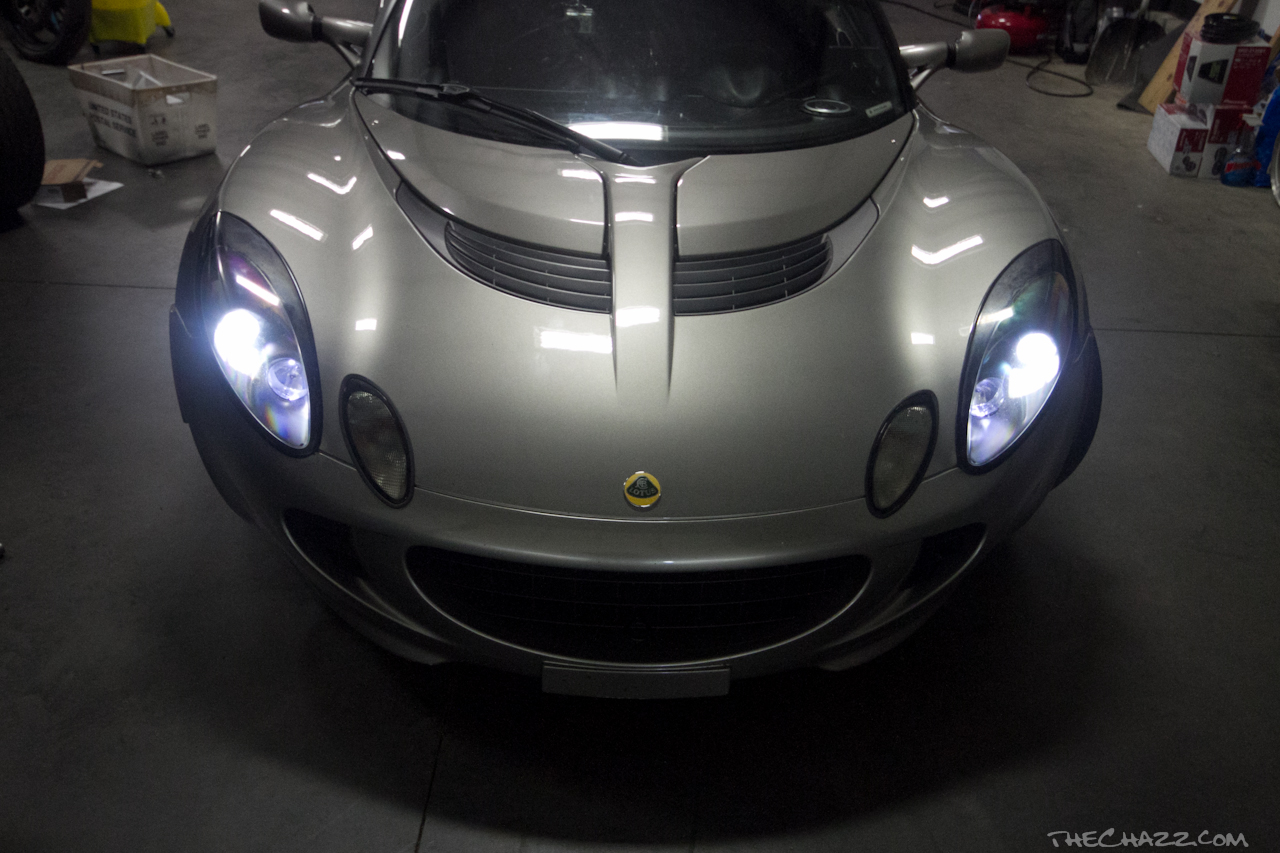
HouseOfHID.com HID conversion for Lotus Elise/Exige
Step 1:
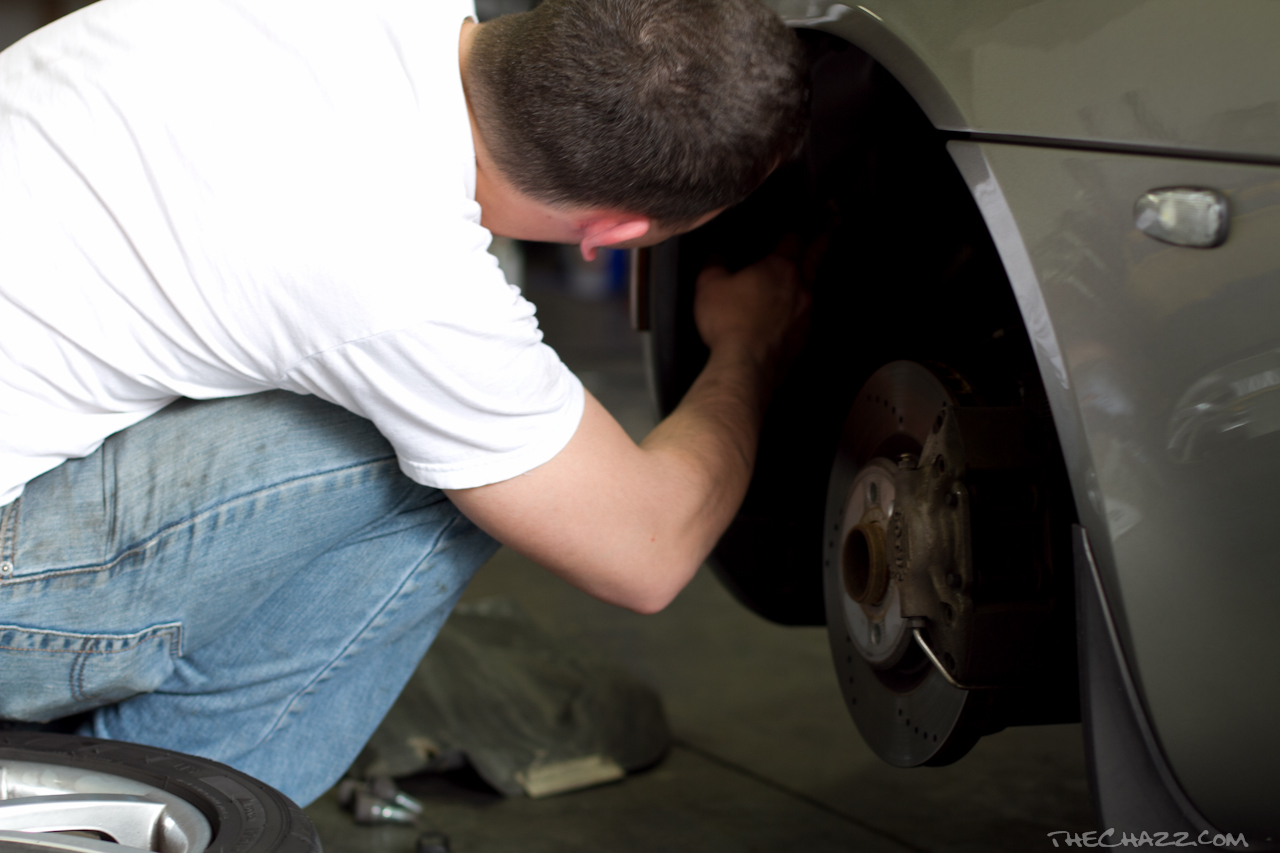
Park the car, IN gear, Parking brake engaged with wheels straight on a flat surface. Start by breaking all of the front wheel lugs loose.
Do one side at a time, this will be faster and prevent lost/mixed parts. Use a floor jack and rubber puck or old phonebook to lift one of the front wheels from the ground. ENSURE YOU ARE USING THE PROPER JACK POINT!

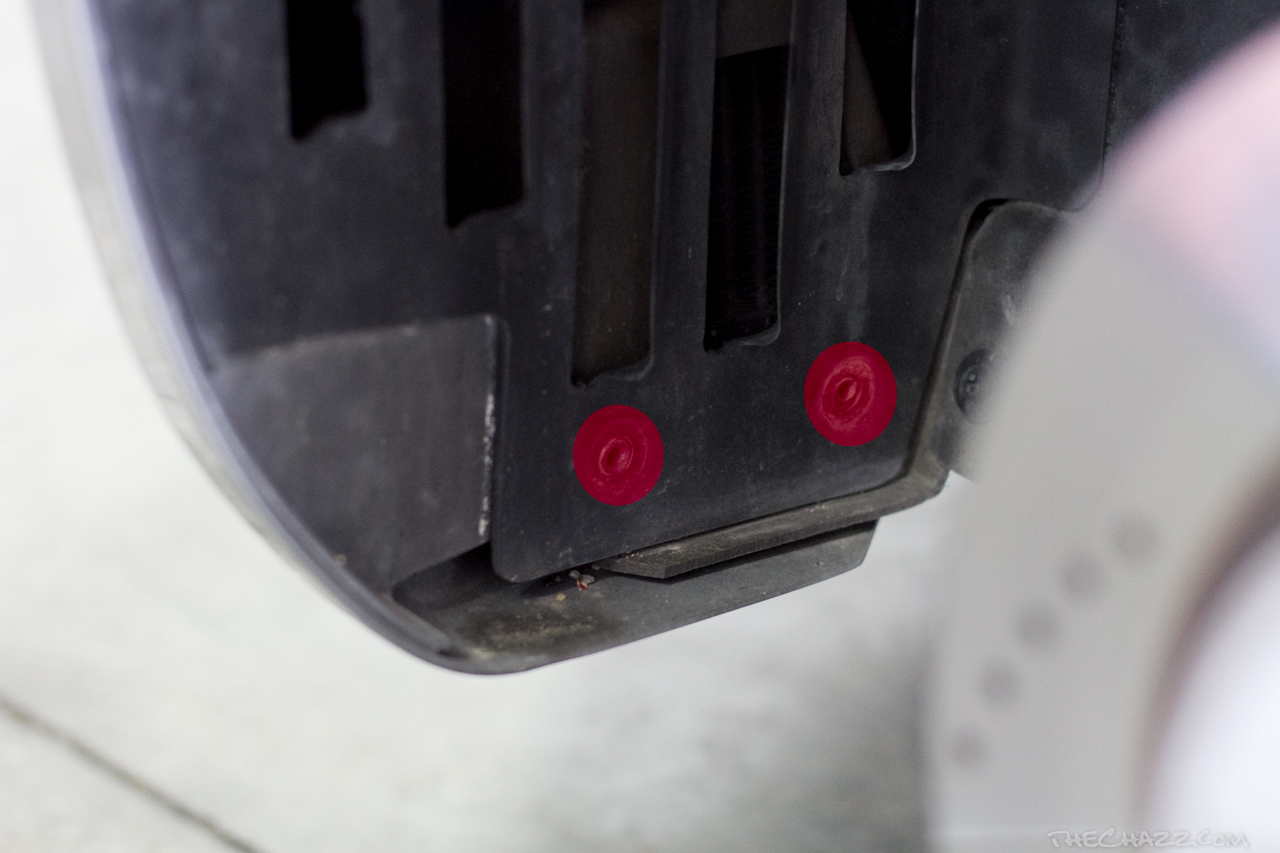
Remove the first wheel to provide access to the headlight access panel. Remove this panel by removing the 2 phillips head bolts on the bottom of the cover and the single phillips head screw on the top. Pop the bottom of the panel free and then simply slide it down and out.


 Step 2:

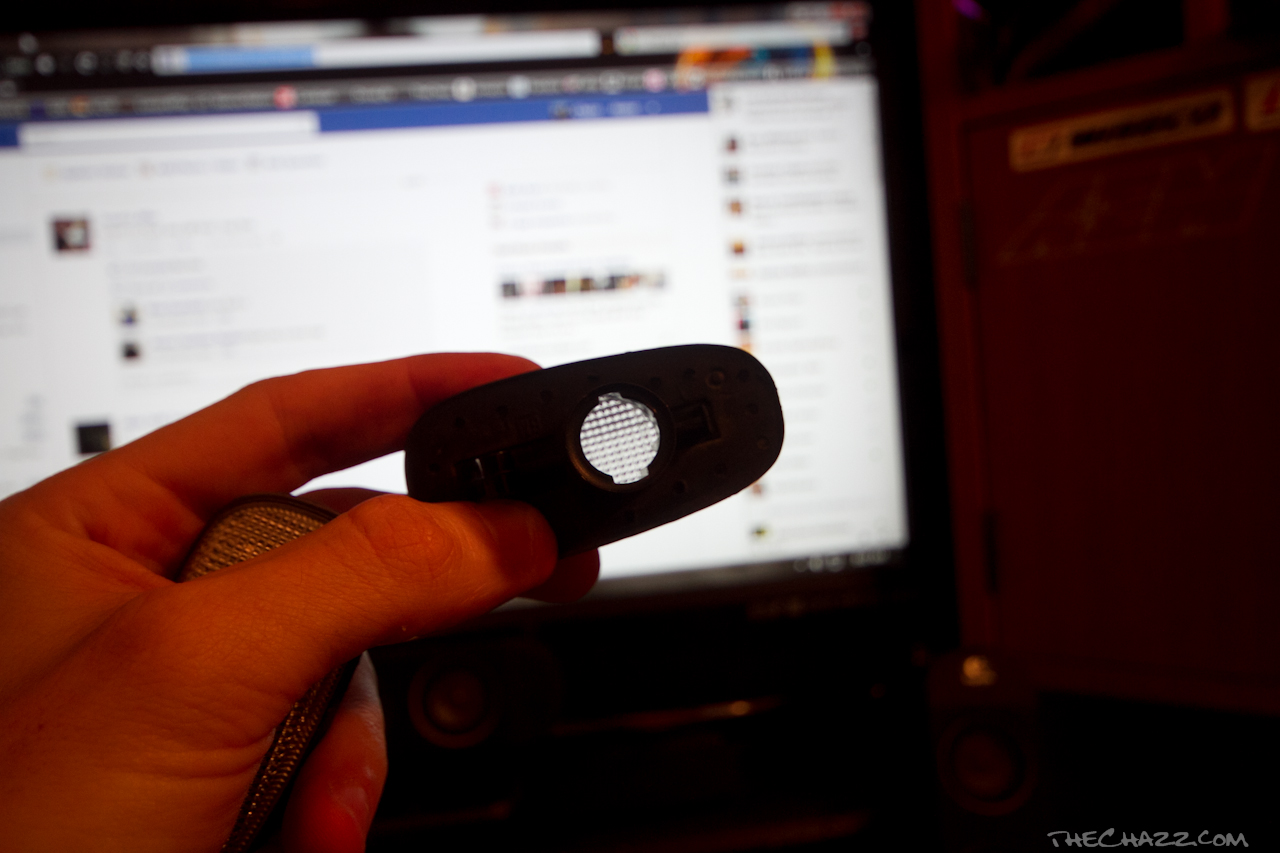
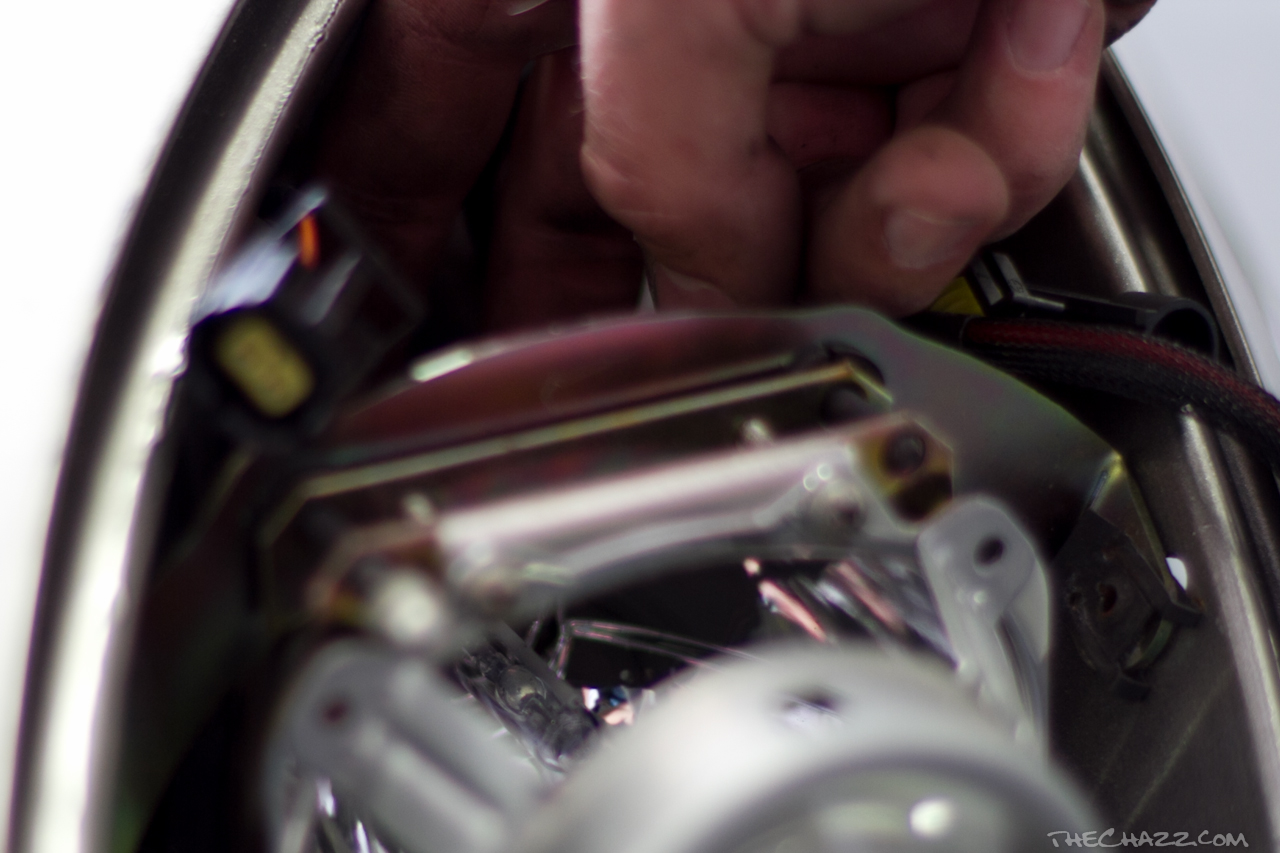
Now with the panel removed you have access to the rear of the headlight. First, Remove the 3 Allen-head bolts (ONLY) to remove the Healdight cover.
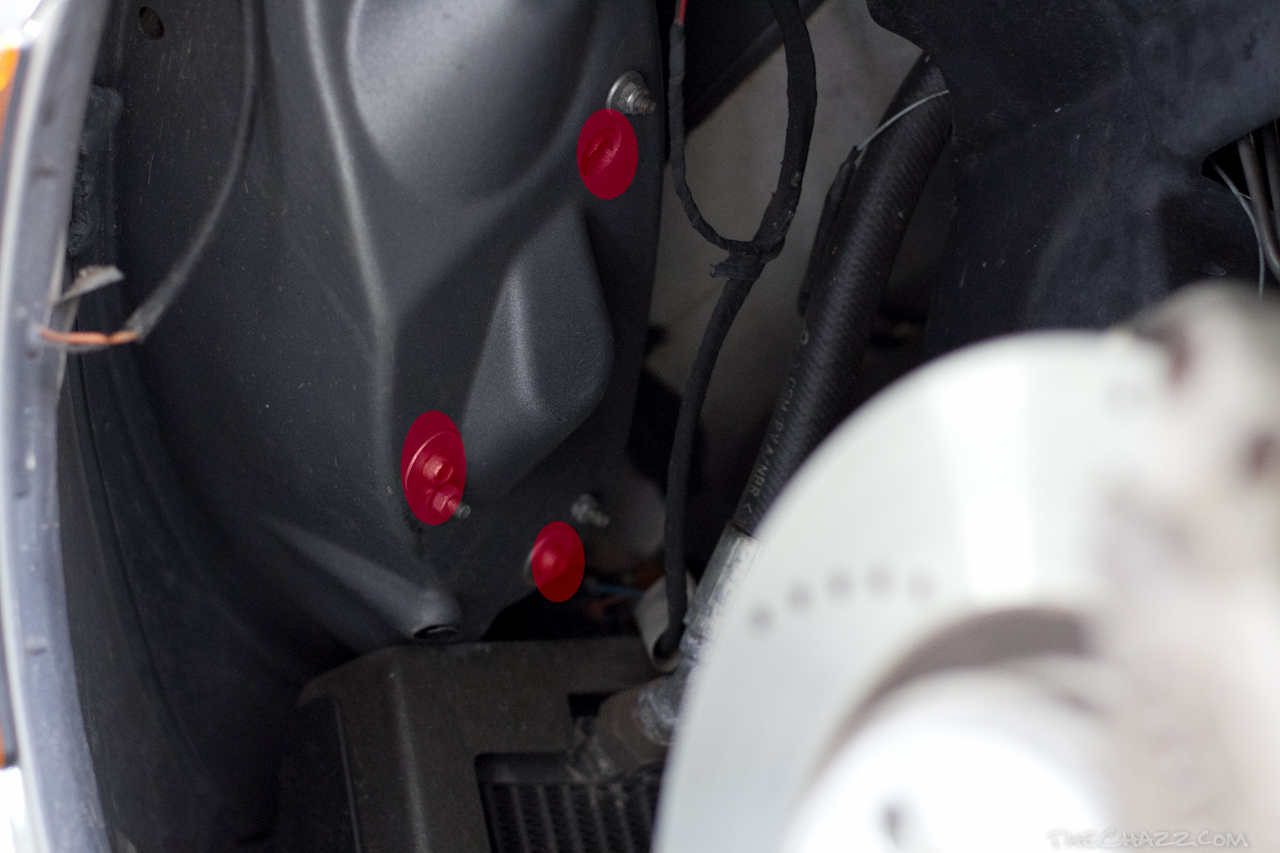
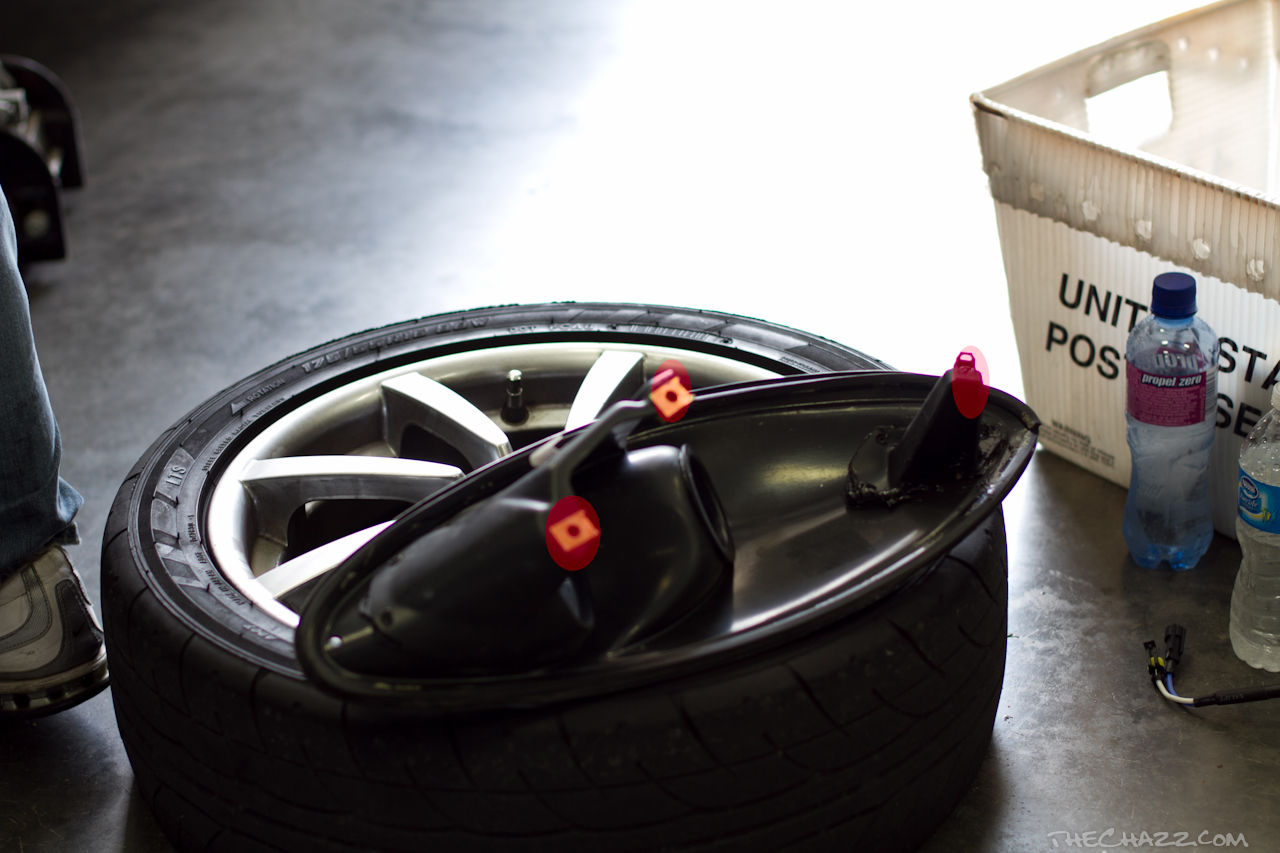 With the 3 bolts removed simply lift the headlight Lens free of the clam and slide it towards the front of the car to remove. If it has never been removed before It may take some fiddling to work free.
Step 3:
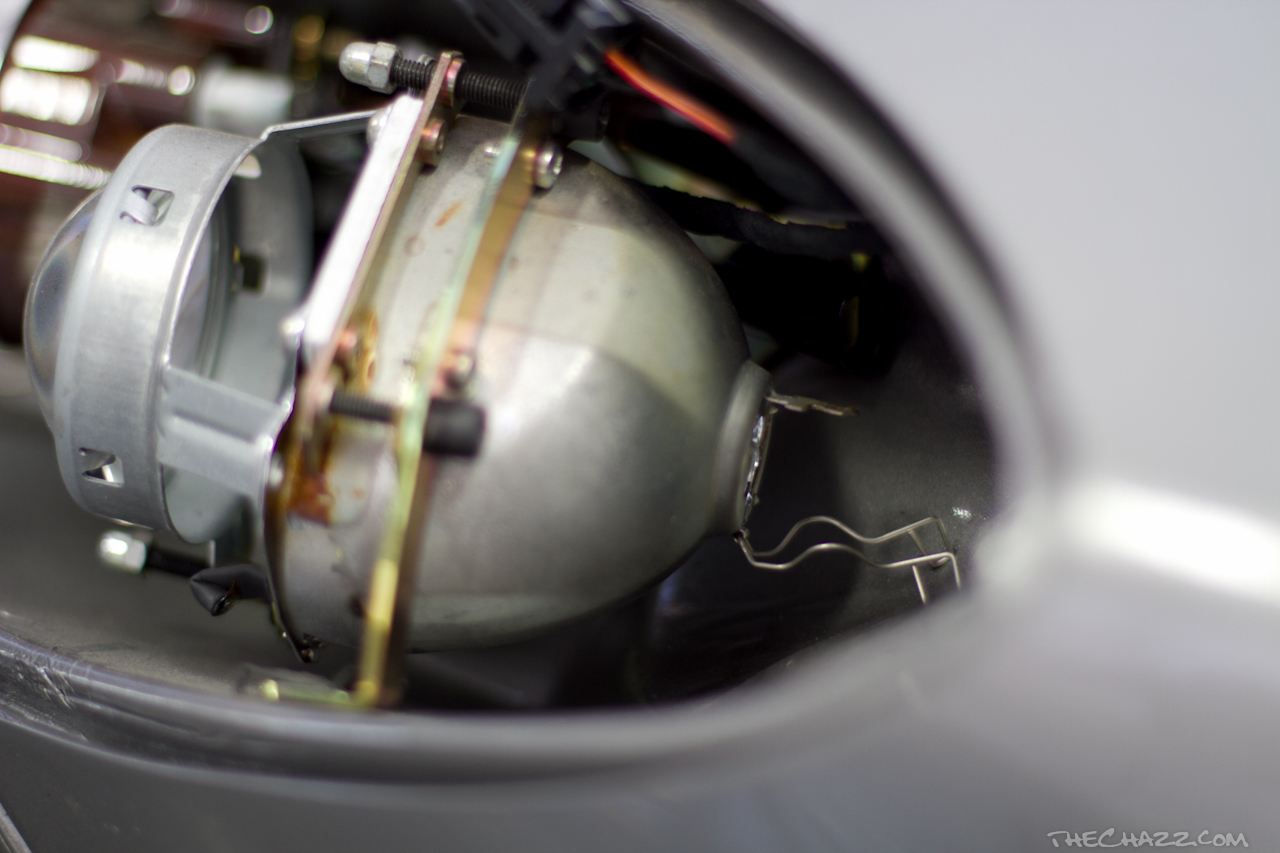
With the headlight lens and shroud free you now have access to the headlight bulbs. First squeeze and pull back the headlight bulb clips to free the OEM bulb from the housing. Note the alignment of the bulb.
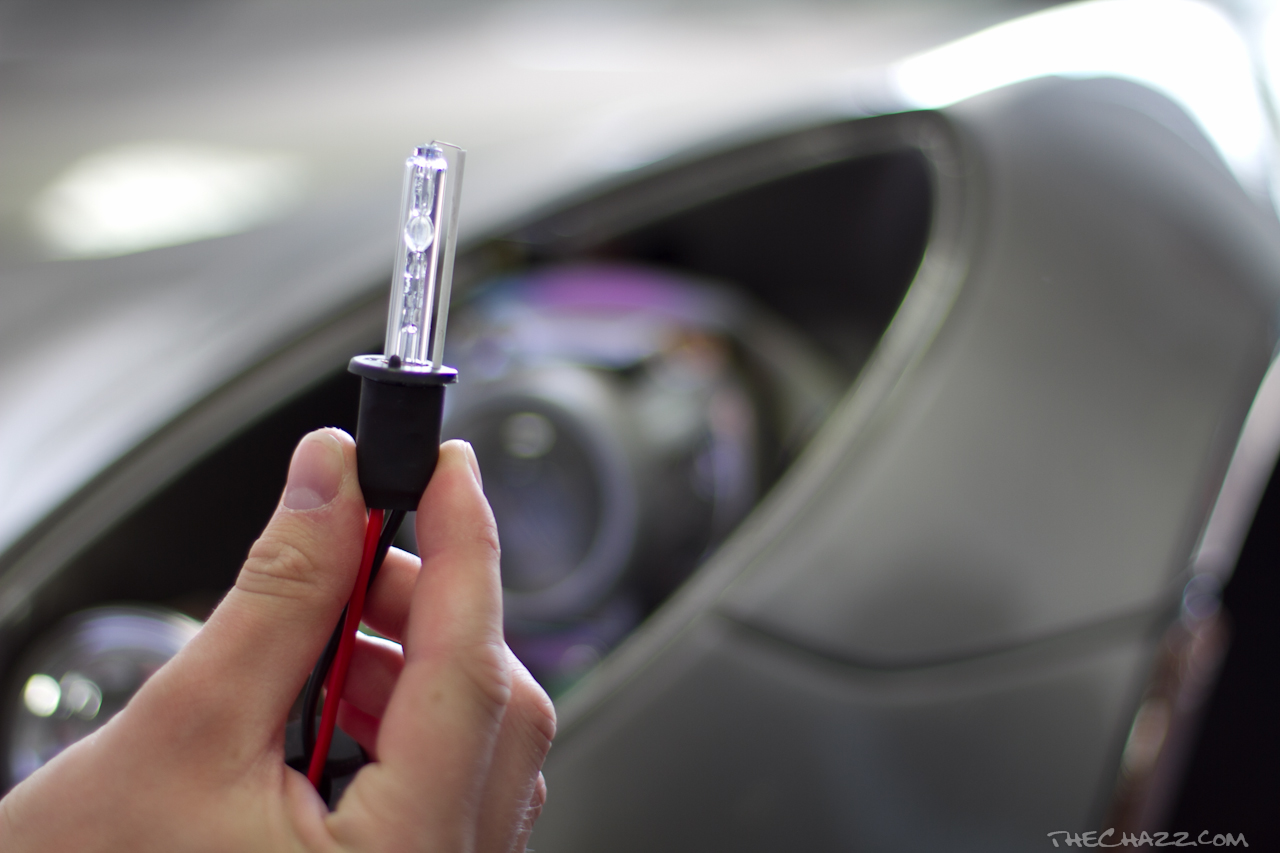 Now install the HID bulb, the bulb should align with the wire filament facing straight up, Slide the bulb into the housing carefully as not to damage it or the filament. Then re-place the wire clip.
(PLEASE NOTE: IF YOU HAVE TROUBLE GETTING ACCESS TO THE REAR OF THE HEADLIGHT SIMPLY REMOVE THE 3 10MM NUTS FROM THE BACK OF THE HEADLIGHT CASING AND REMOVE THE HEADLIGHT HOUSINGS FROM THE CLAM.)
Step 4:
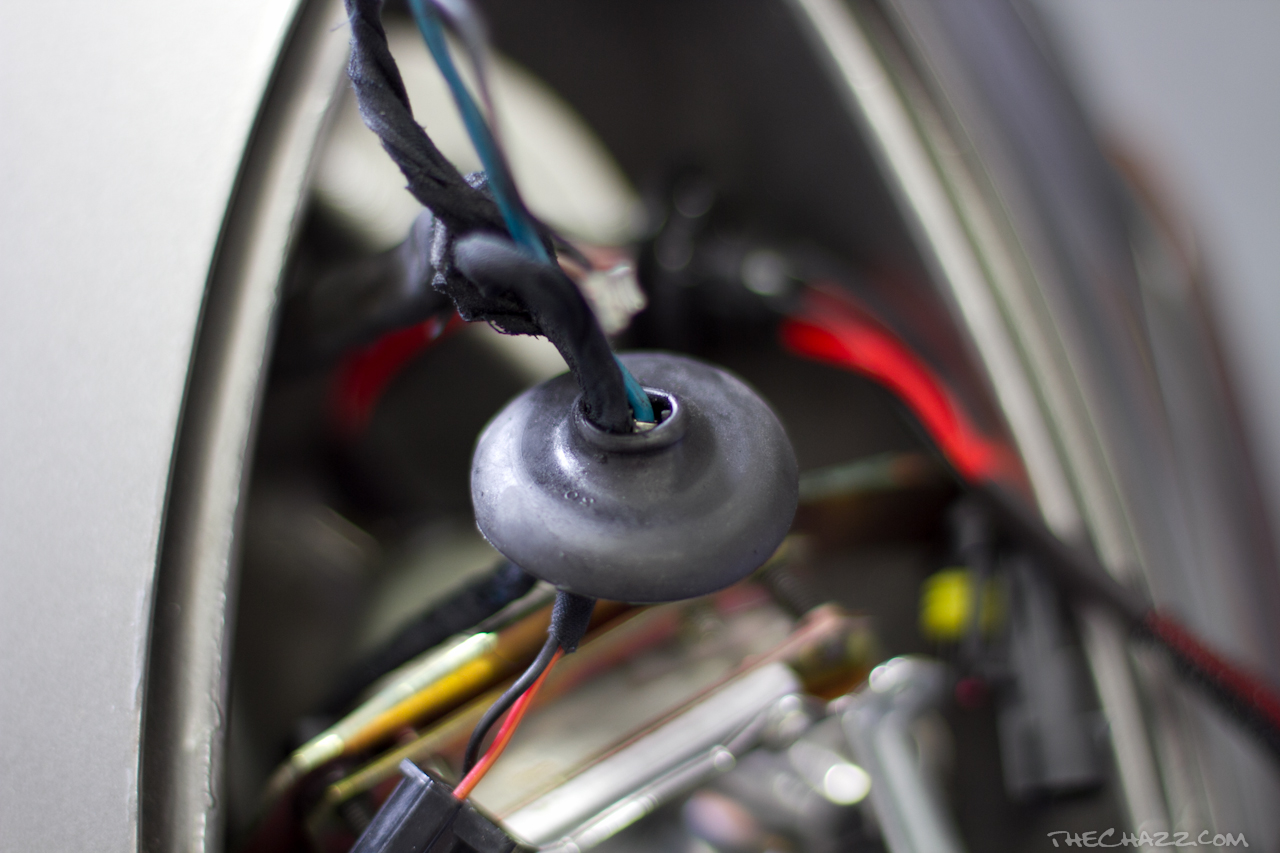
Wiring time. Your Ballast will come with the plugs and retaining pins seperate, this is so that the harness can be routed through the OEM grommet keeping this kit 100% cut and drill free.

To start you will want to pull the grommet free toward the top of the car. Now you need to pull the OEM lowbeam connections out of the grommet so that they will be available inside the fender-well.
 Once you have the OEM low-beam harness removed, you can route the ballast harness through the fender well into the headlight housing and through the grommet. This will take some wiggle work and patience, but the final result has an OEM seal.
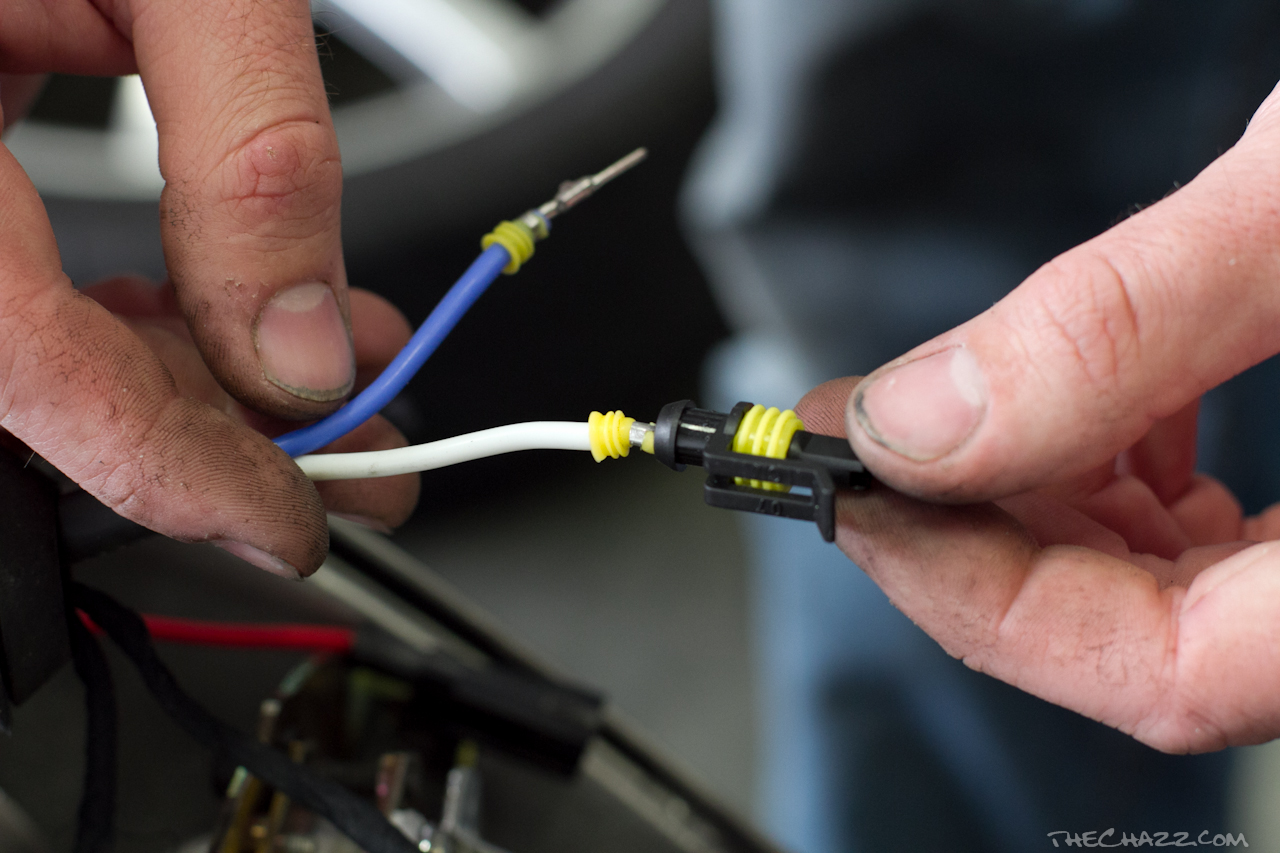
 Now you may simply re-pin the plugs to the HID harness. The male connector to the White wire and the Female to the Blue. Simply align them and slide them together to “click” into place. The securing pins install as pictured.
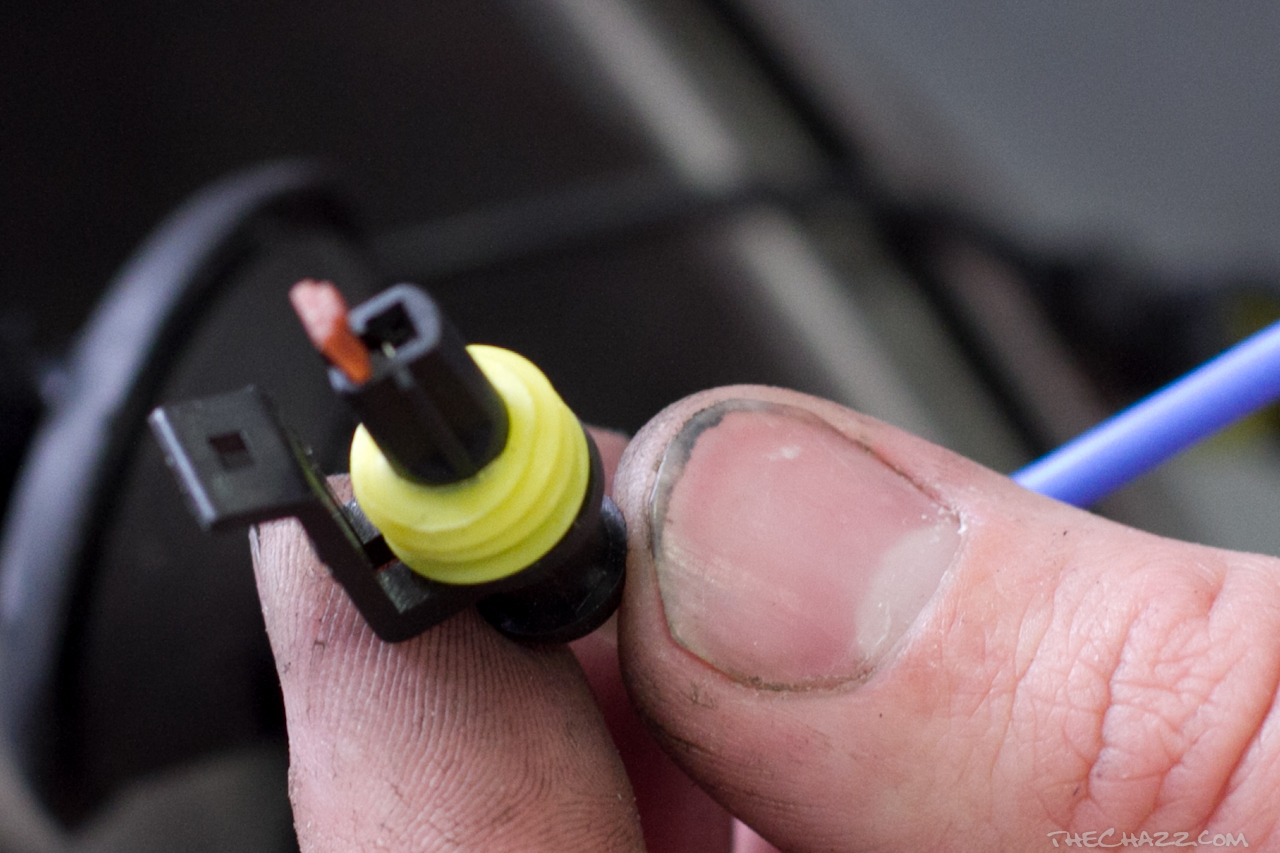
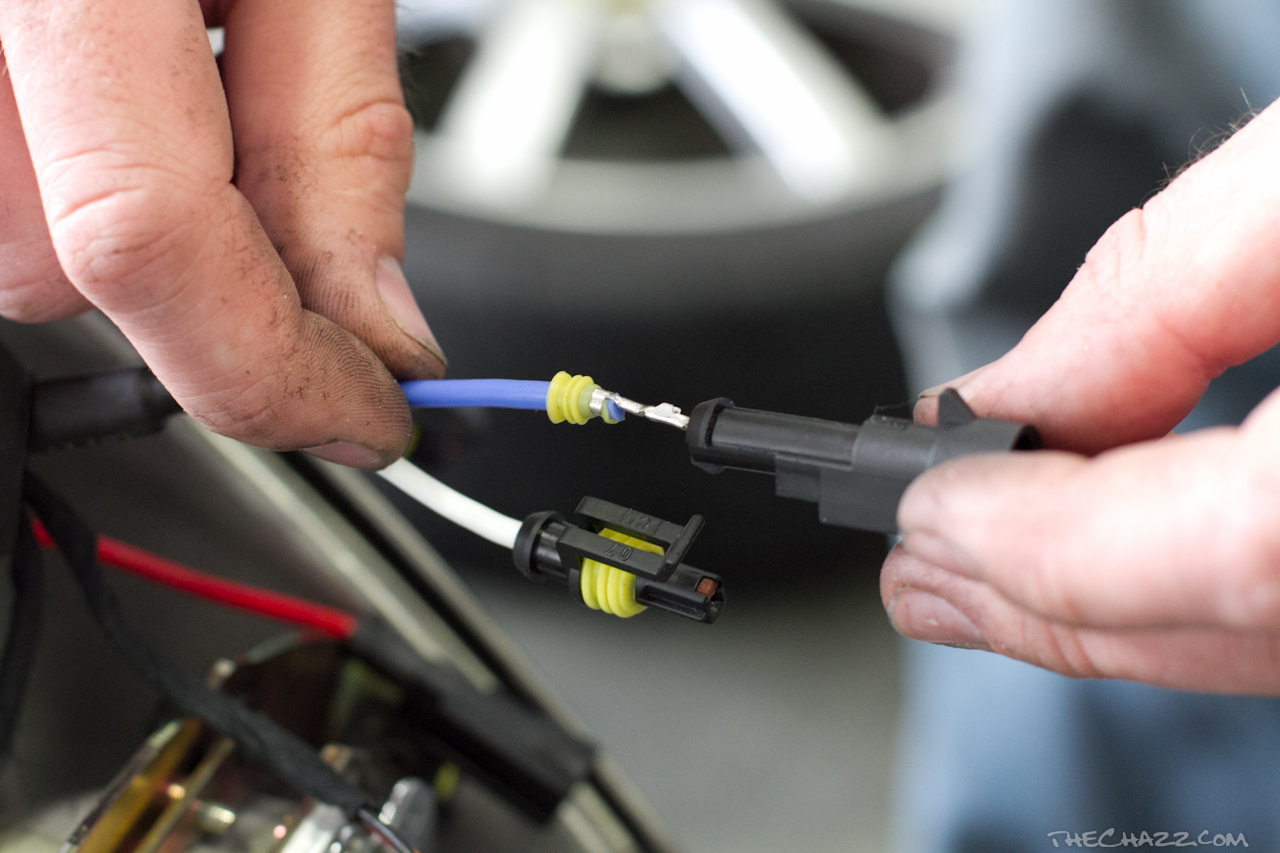
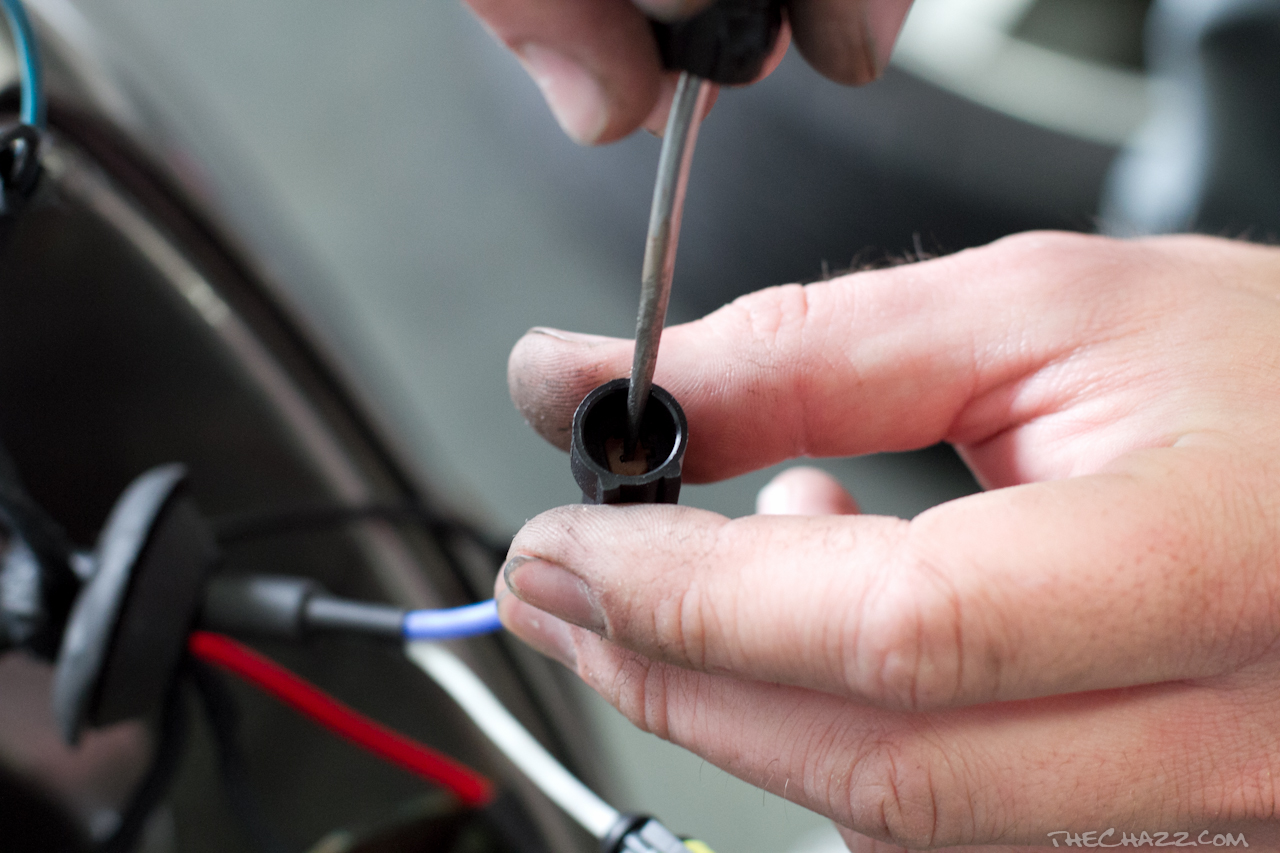
A pick tool may be used to help in re-installing the female safety clip as pictured.
Now, you may re-install the headlight grommet and connect the bulb connections to your new harness.
 Step 5:

Almost done! Now it is time to mount and wire the ballast. I chose the side of the headlight bucket using the provided double sided pad. Clean the are to be stuck with rubbing alcohol to ensure a permanent bond.
 You may need to rotate the ballast so that the harness faces the back of the headlight in order to reach.
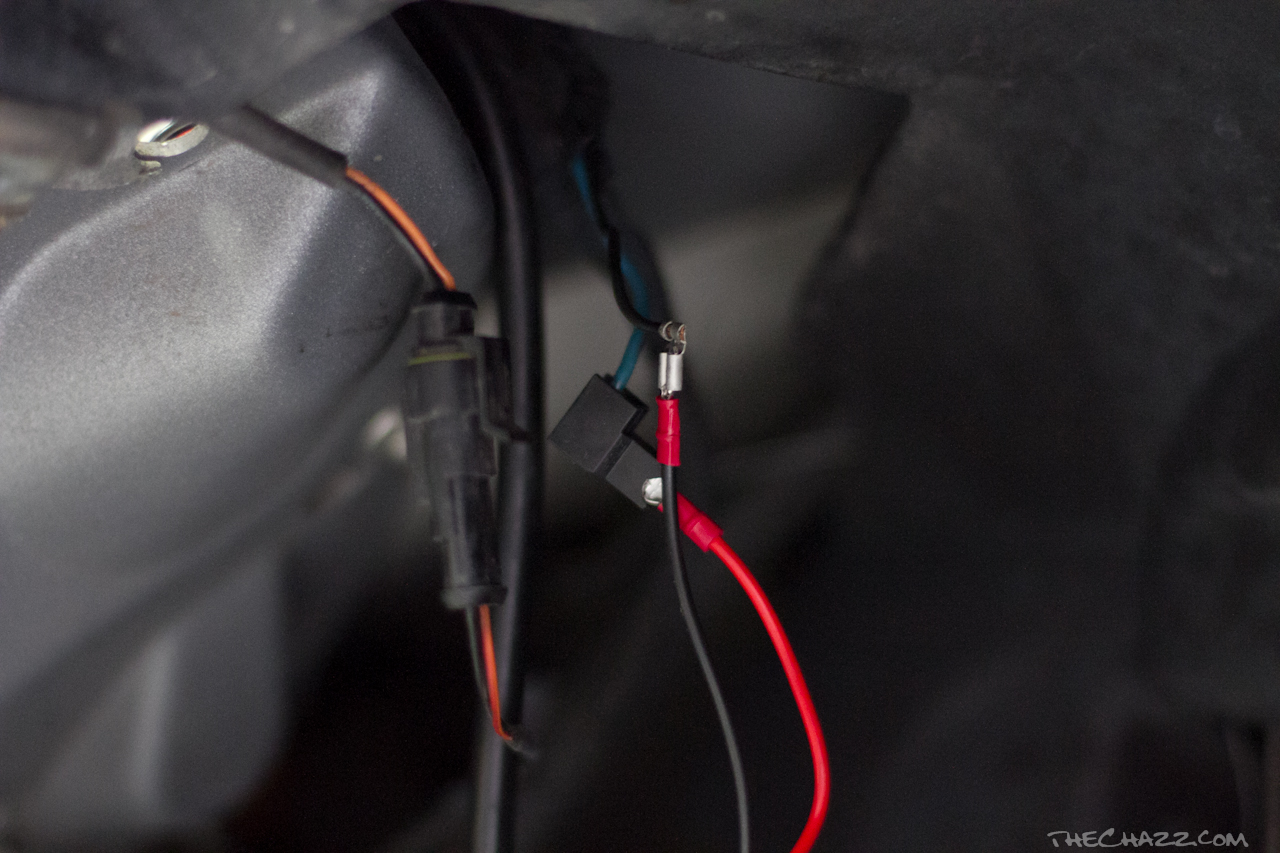
Now with the ballst mounted its time to connect the ballast power supply to the OEM bulb connectors. Simply route the harness to the back of the grommet where the old bulb connections are now located. Install the Large blade connector(Red wire) into the Black plastic bulb connector. Then the Smaller blade into the smaller bare connector. To seal this connection, apply liquid tape to the connections as well as a layer of QUALITY electrical tape.
Step 6:
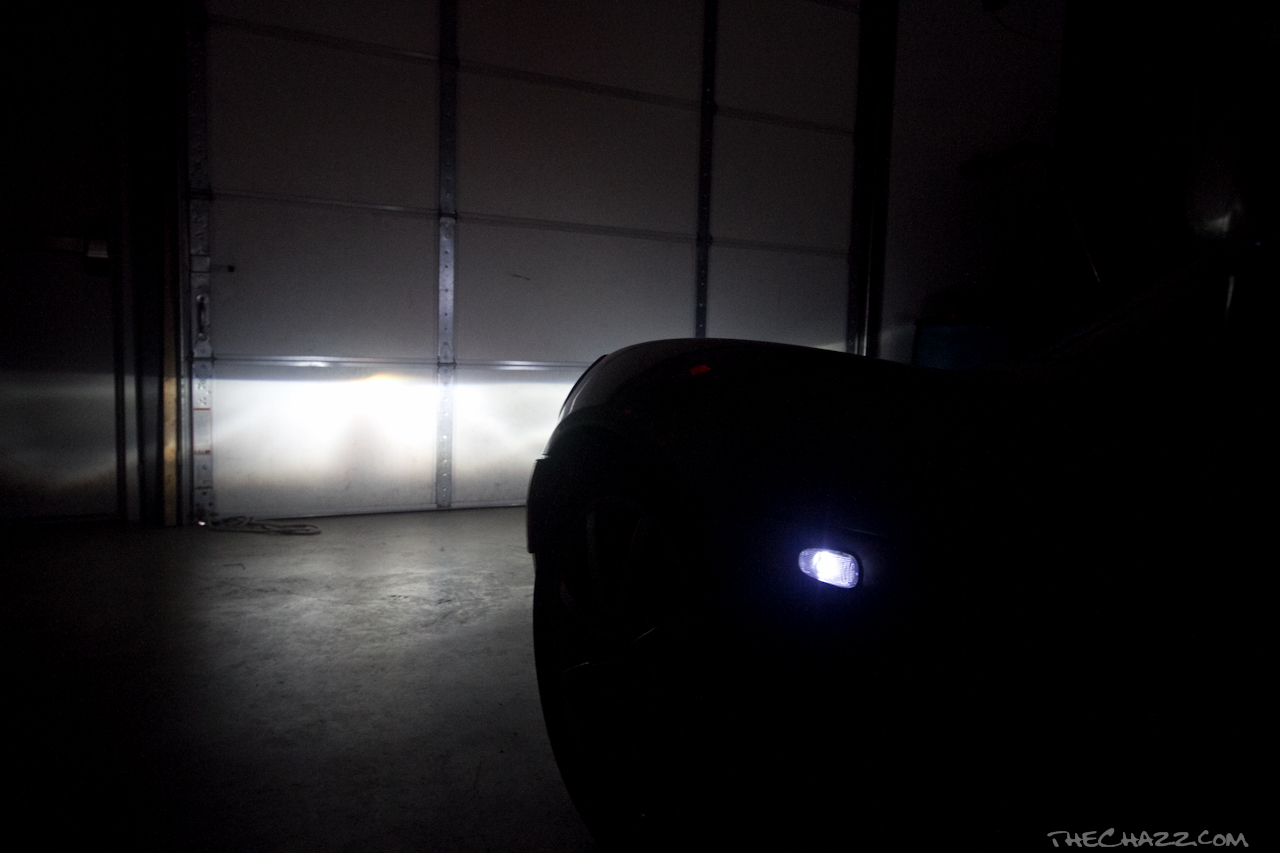
Before continuing any further, double check all connections, be sure you re-connected the high-beam and marker lights. Then turn them on to ensure function!

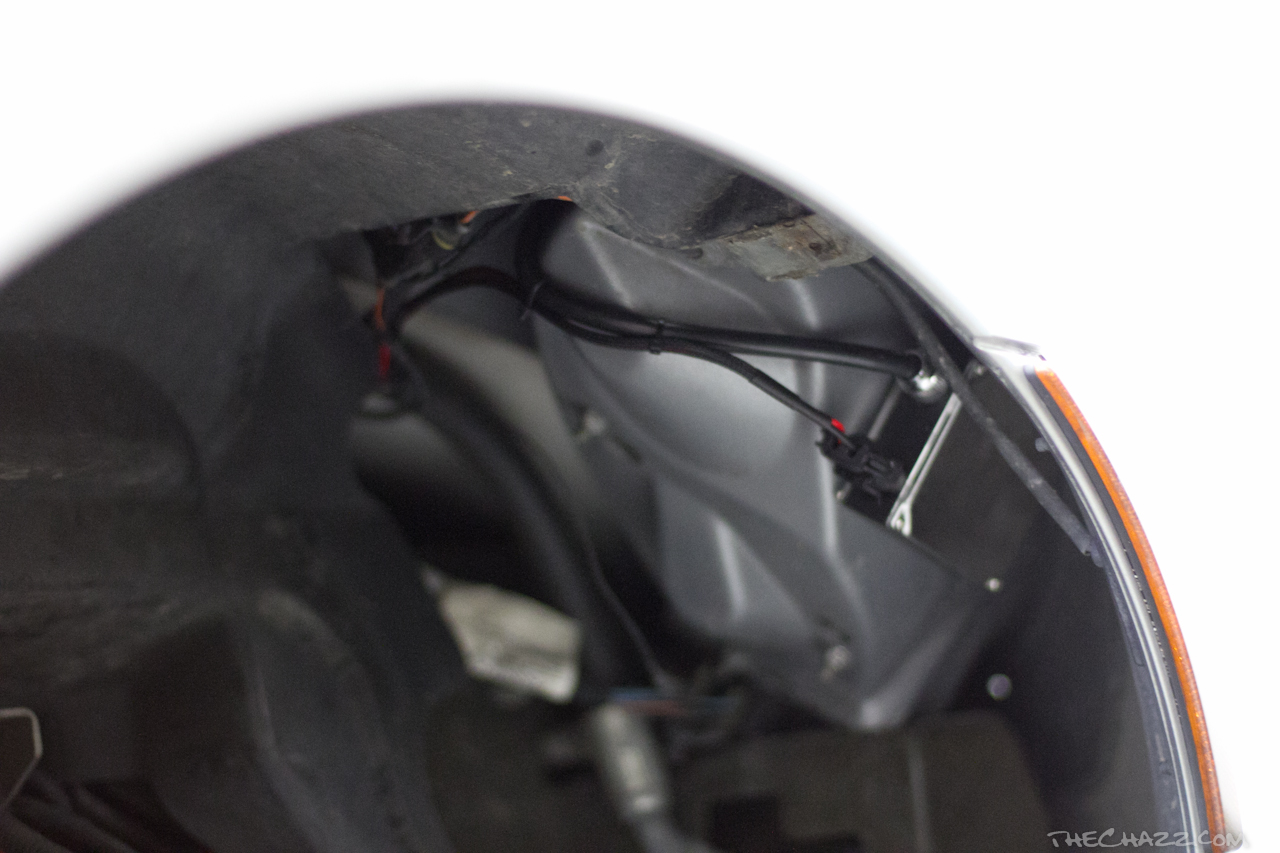
 With everything functioning, Clean up the wiring by using zipties to ensure everything is clear and snug!
You may also want to adjust headlight alignment while you have your headlight covers off. Please refer to another guide for this procedure (HIGHLY RECOMMENDED, Alignment provides better vision and anybulb)

Step 7:
That’s it! Time to button up. First re-install the headlight lens and shroud. It helps to wet the body with windex where the rubber seal contacts in order to help slide the cover into place. Carefull not to over-tighten the headlight cover fasteners!
Next re-install the access panel, all 3 phillips heads (Srew in top, 2 bolts in bottom).
Re-install the wheel, torque lugs to 77ft/lbs.
(Repeat procedure on opposite side)
Congratulations! Your headlights now look like they SHOULD have from the factory! Enjoy your new night vision!