


This is a basic guide I wrote to detail the removal of the amber filter from the Lotus Elise and Exige Side-Turn-signals. This both allows for a color change (White in my case) and the use of an LED Bulb ((longer than stock and will not fit with Amber Filter in place)
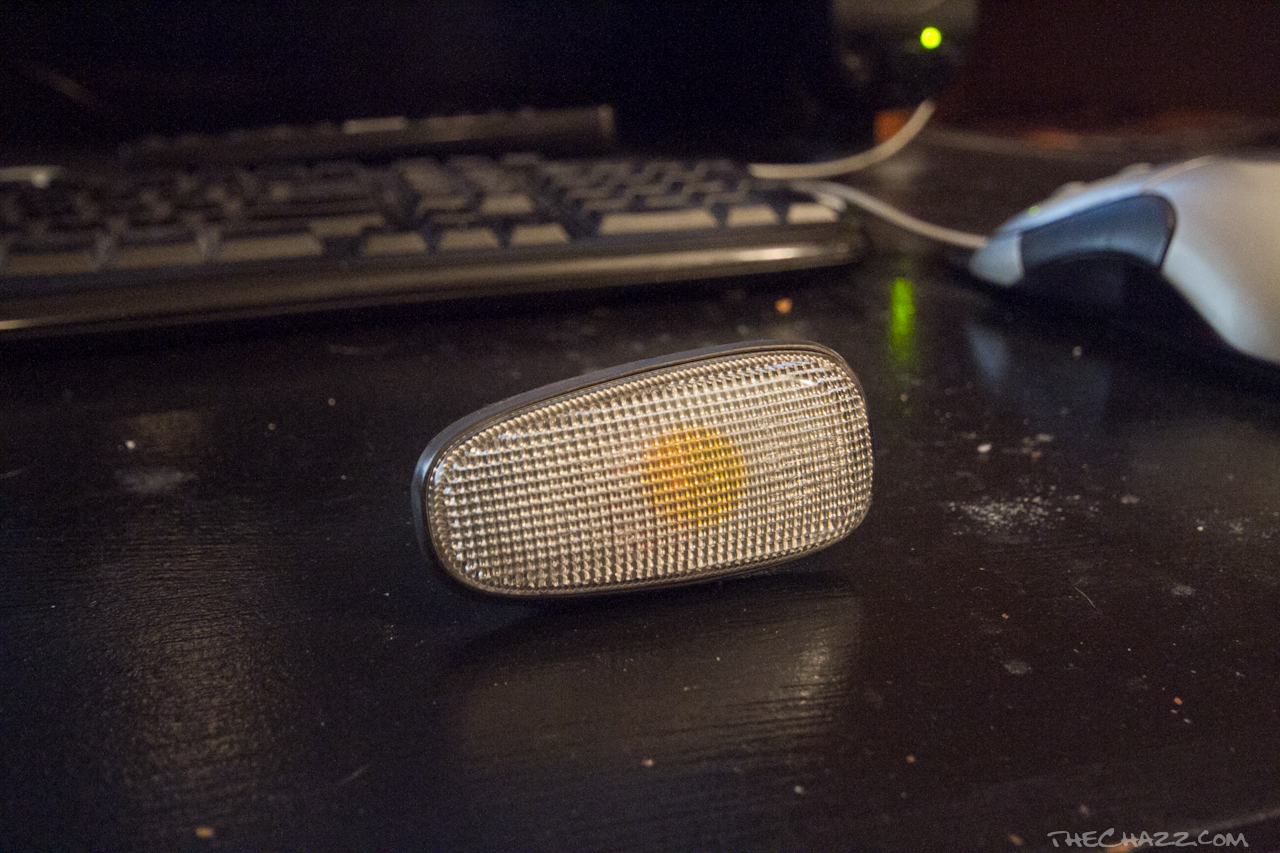
I forgot to take a picture of the OEM marker illuminated Amber. To see simply activate a turn signal and take a look at the Amber color emitted from the UN-modified lens.
Tools needed:
Plastic Card or Credit card covered in masking tape (to prevent scratching paint)
Small Flat-Head screwdriver
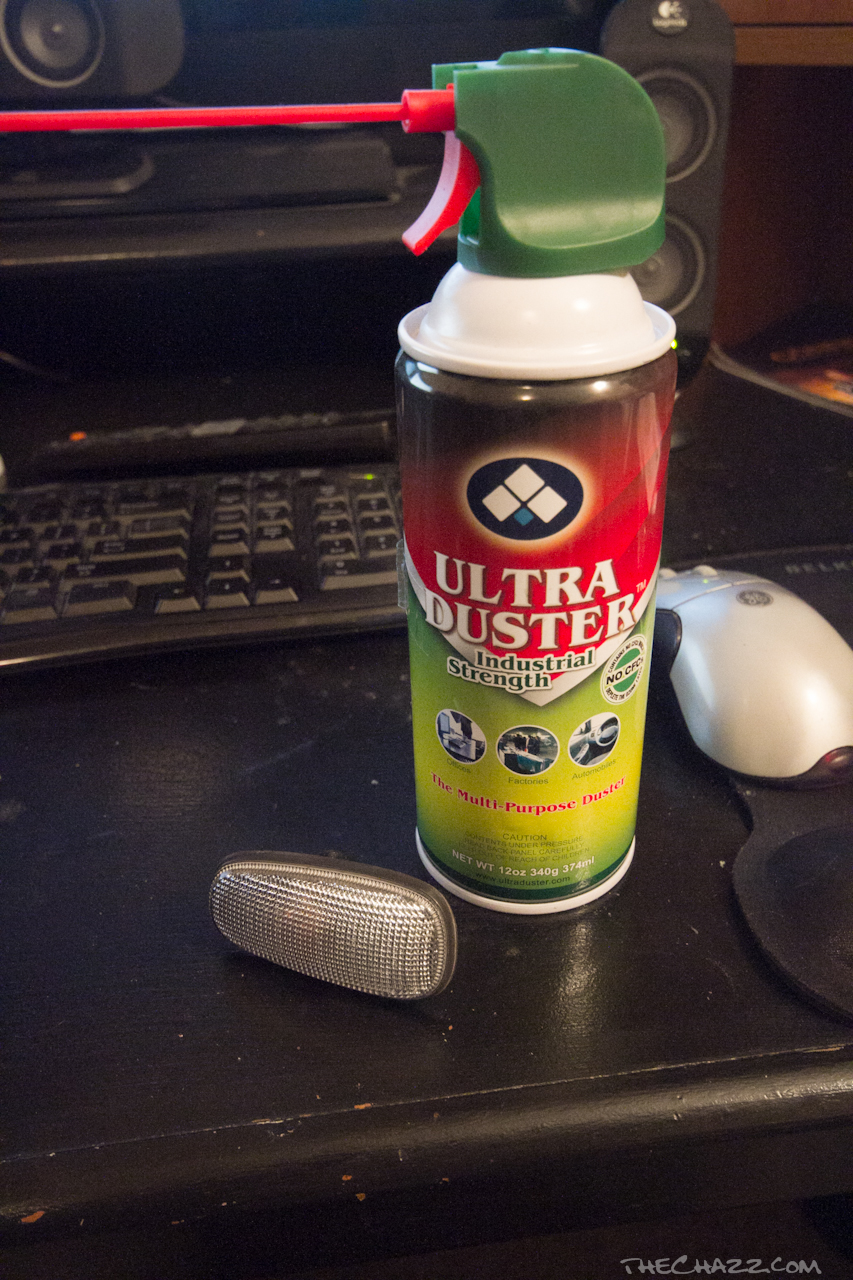
Can of Keyboard Duster
Masking Tape
CLEAR 2-part fast cure Epoxy
LED 168 bulbs (color of your choice, Amber or White recommended)
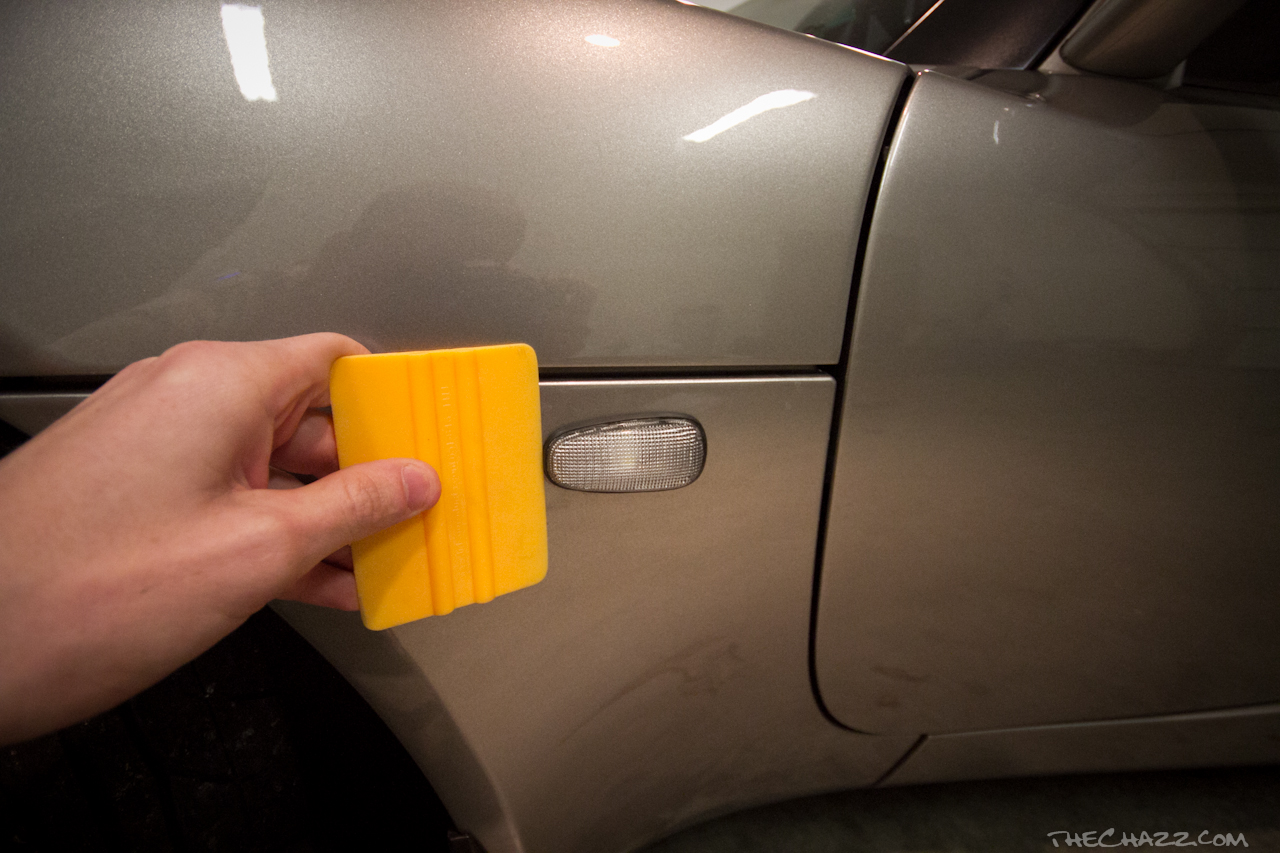
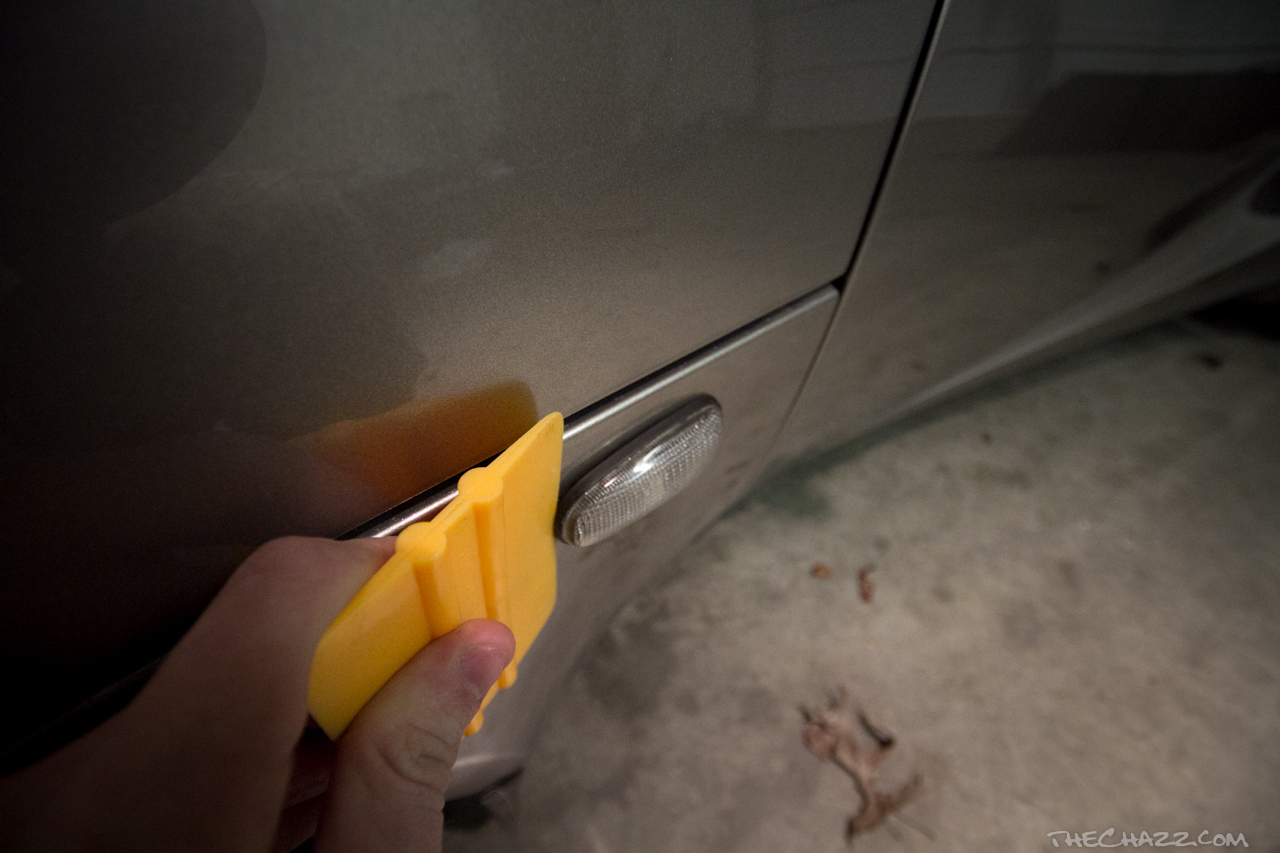
Step 1:
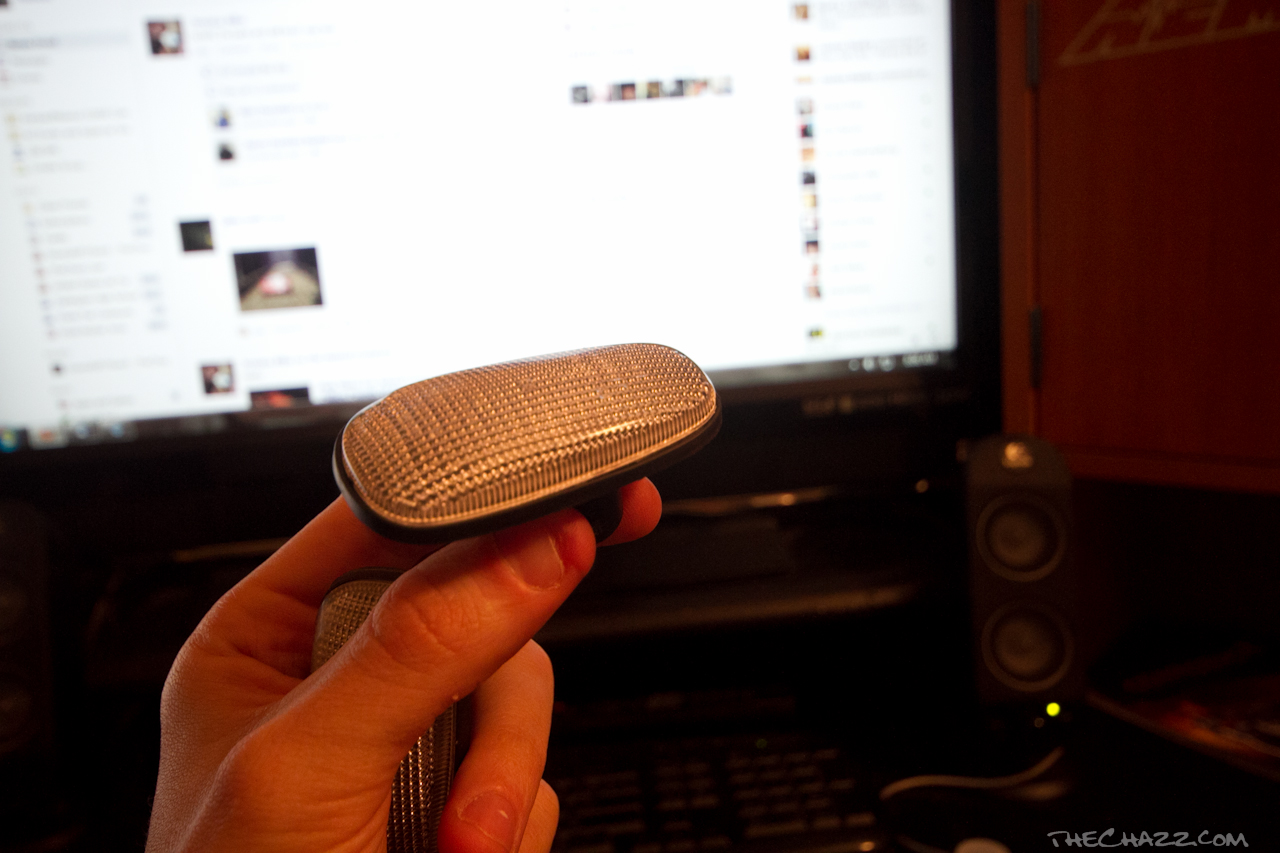
Remove Marker lights by pressing the plastic card against the FRONT of the marker lenses firmly but not to hard. Pry out carefully simultaneously and the marker will “pop” free.


 Step 2:

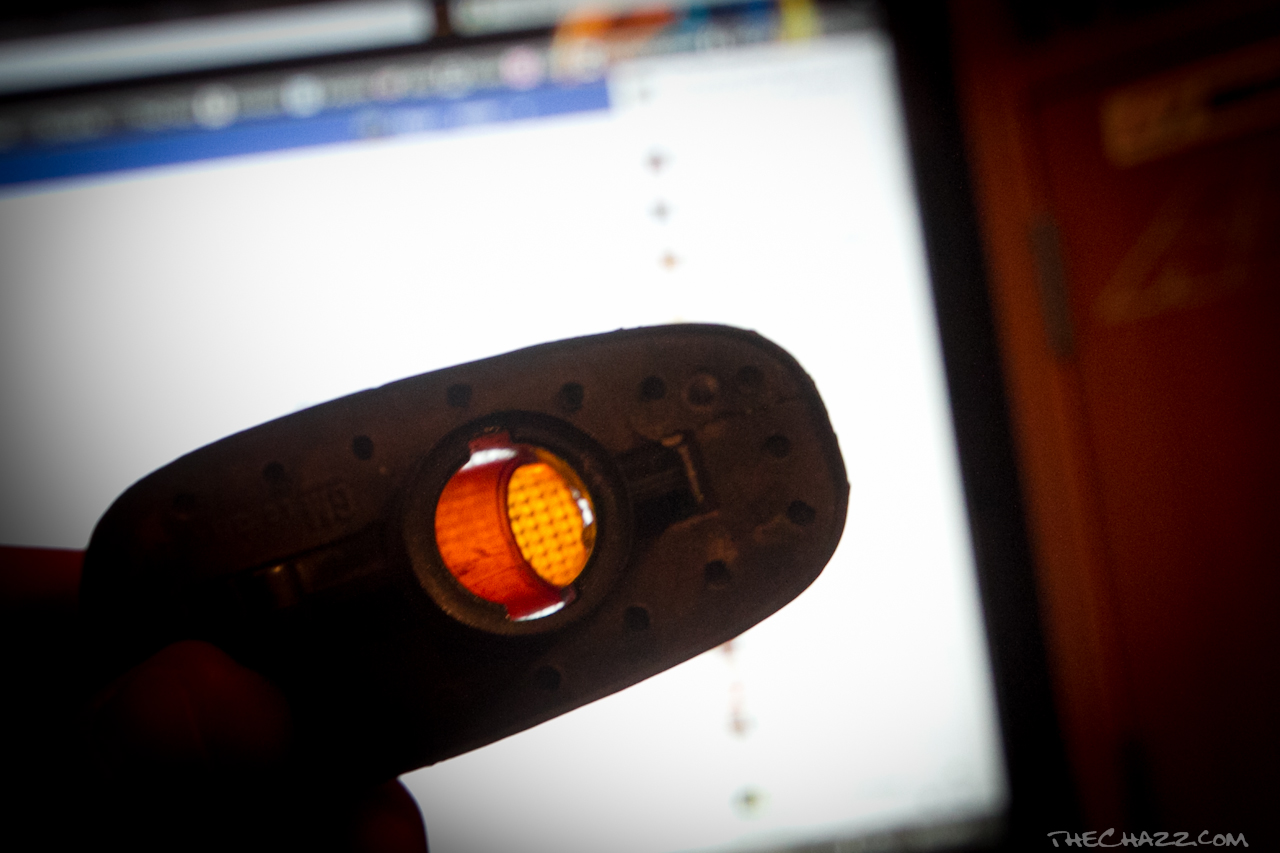
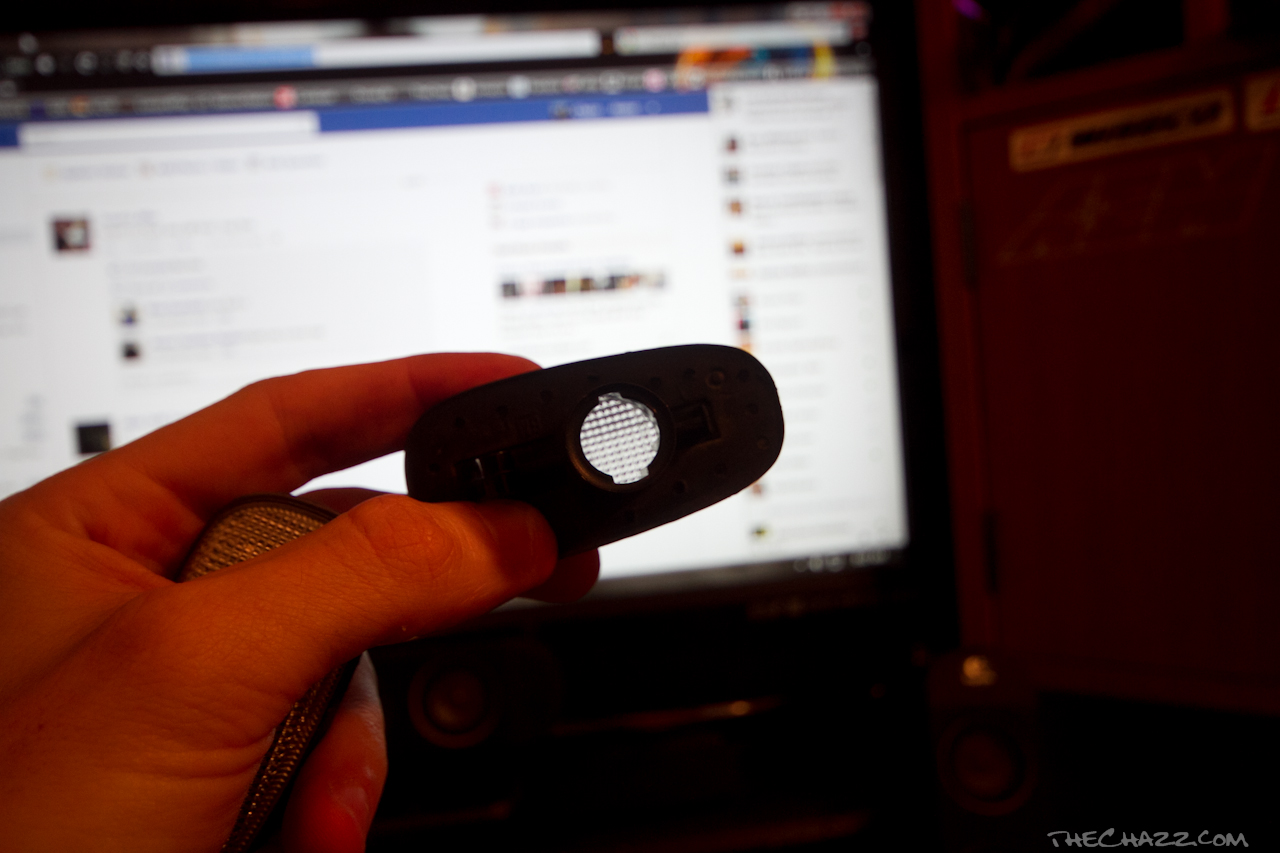
After UN-clipping bulb from harness (Just pry tab away and pull) twist bulb fixture counter clockwise and side bulb out. This will reveal the orange “cap” filter fixed inside the lens.

 Using the Flathead screwdriver, from the rear opening of the lens “pry” the amber cap away from the inside of the lens housing carefully causing the cap to “twist” inside the fixture. This will take some fiddling, a dental pick/seal pick may also work.
 Step 3:
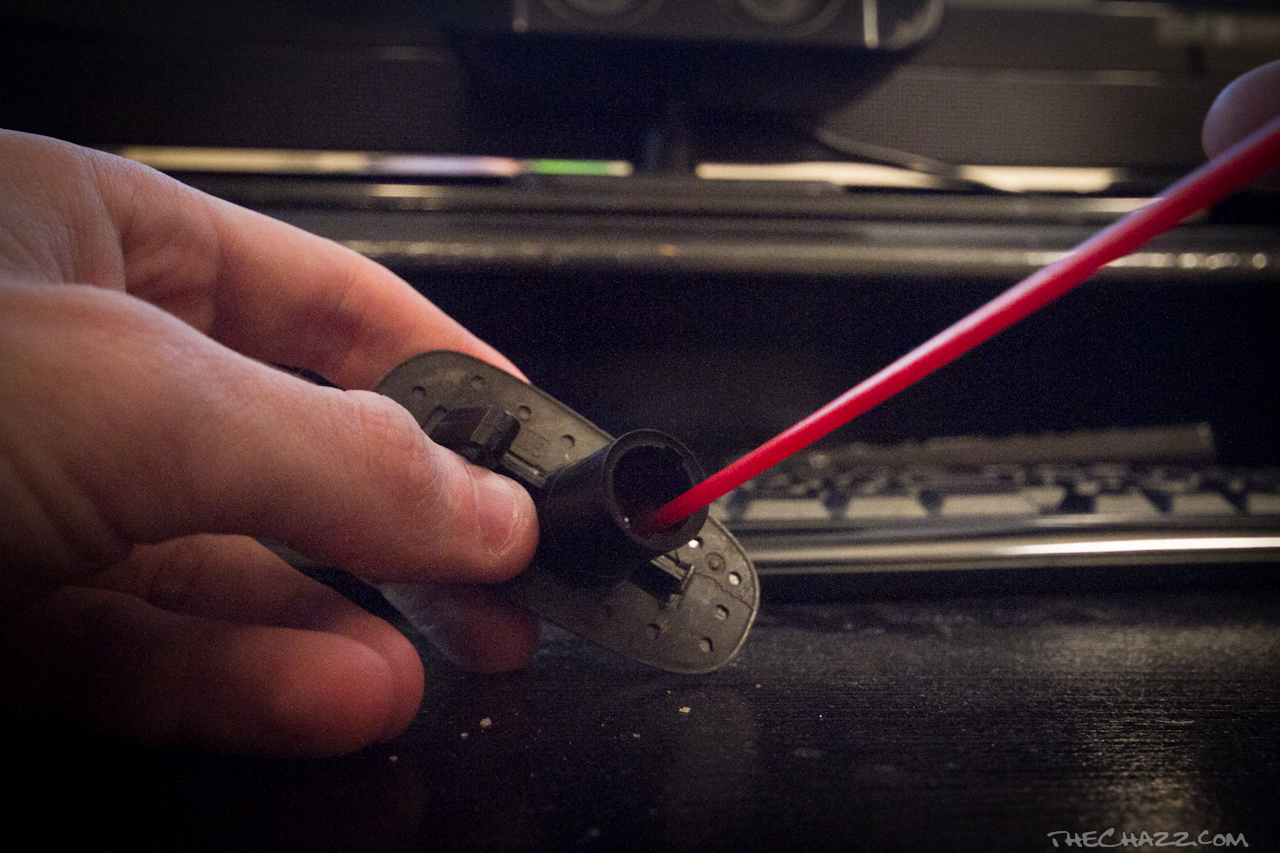
Now that you have access to the inside of the housing you need the can of duster. With the can UPSIDE-DOWN insert the straw into the lens housing to the side of the amber cap. Spray for 2-3 seconds until the housing is about half full of the liquid nitrogen. Swish the liquid around so that it contacts all of the adhesive holding the clear lens to the black housing. You may hear a POP as the lens breaks free. If not then use the screwdriver to carefully pry the lens away… it should take VERY LITTLE EFFORT. If needed repeat the spray.


 Step 4:
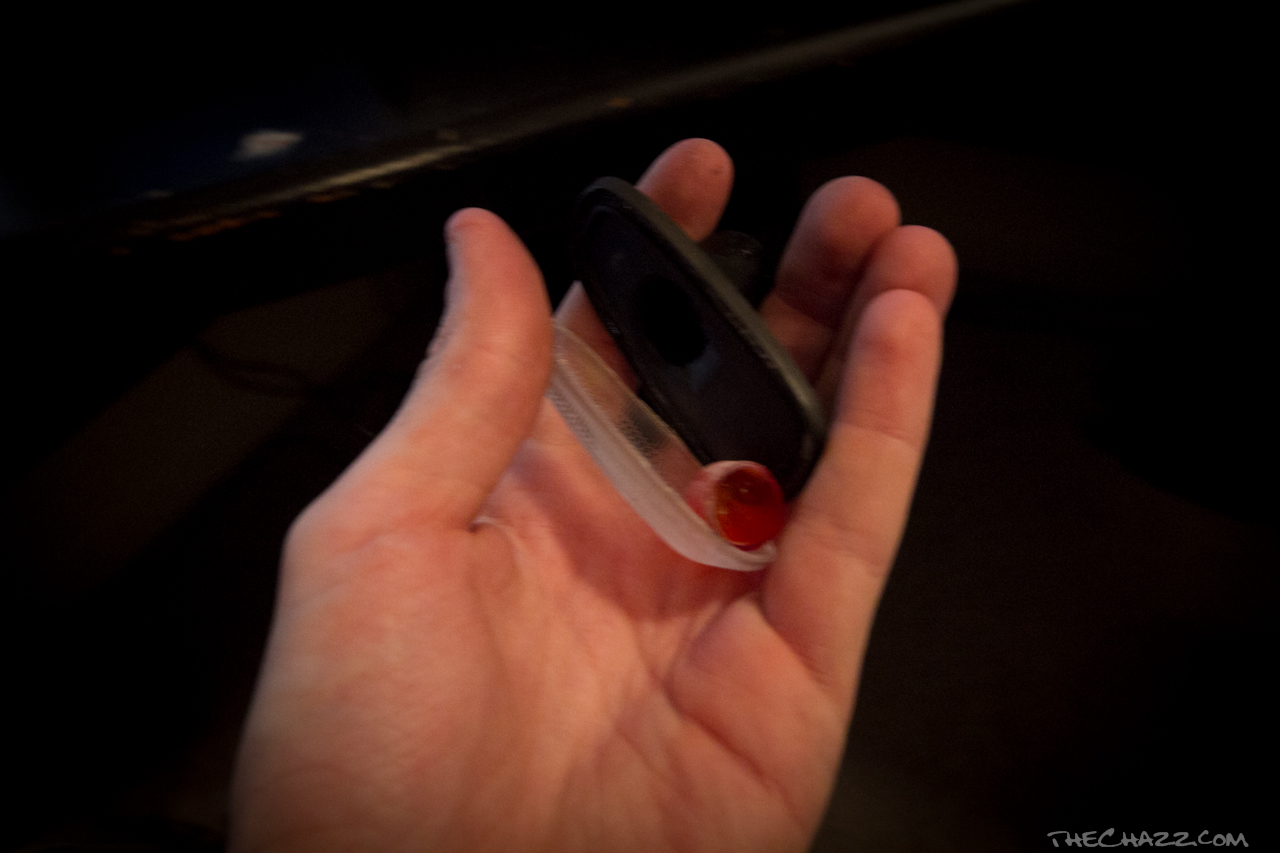
Now that you have it apart the Amber cap should fall free, toss it in the garbage. Almost done! Now clean the housing and lens with rubbing alcohol to prep it for re-assembly.
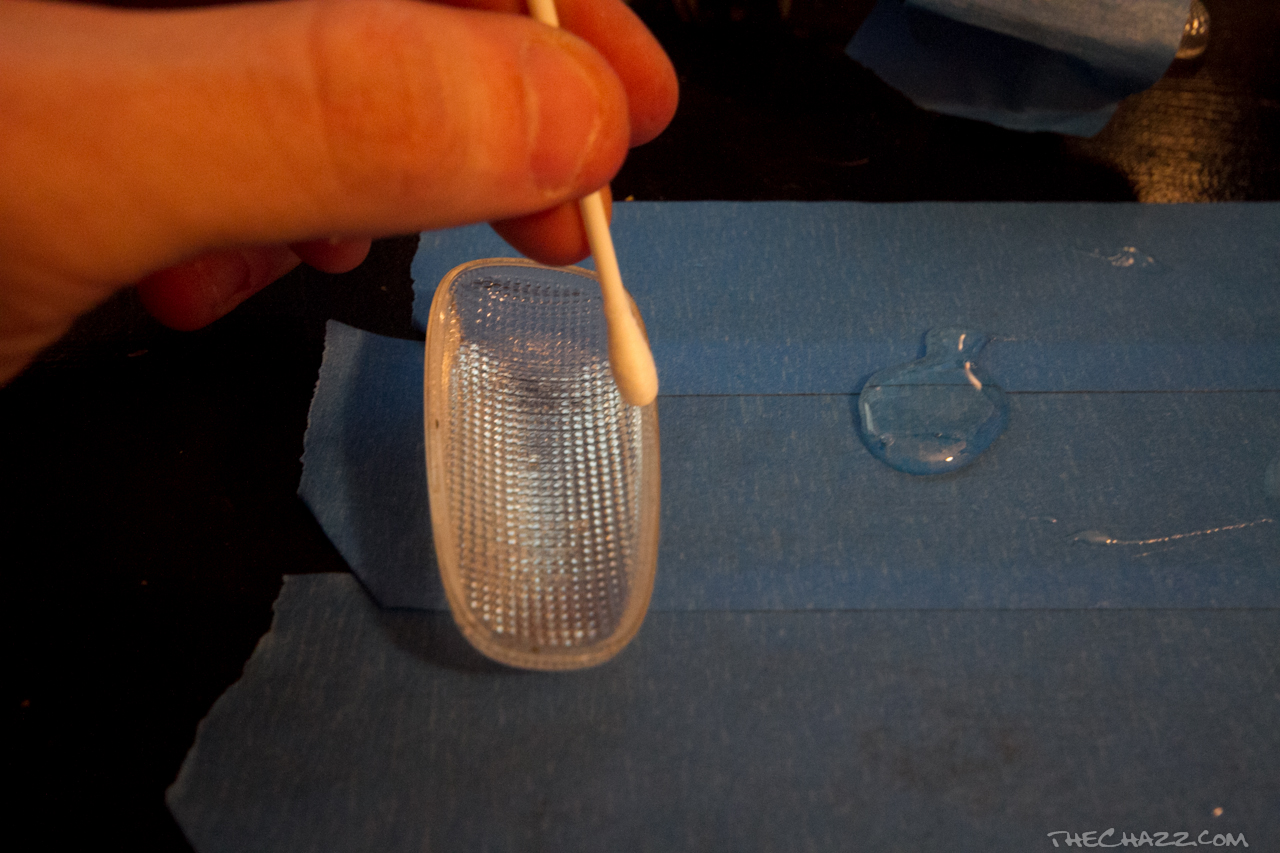
— DO ONE LENS AT A TIME AS YOU HAVE LIMITED TIME TO MIX and APPLY THE ADHESIVE — Now mix a SMALL amount of Epoxy and use Q-Tips to apply it quickly to the very edge of the clear lens. Use a SMALL amount so that it does not run on the sides of the lens! Work quickly as the epoxy can dry in just a few minutes.
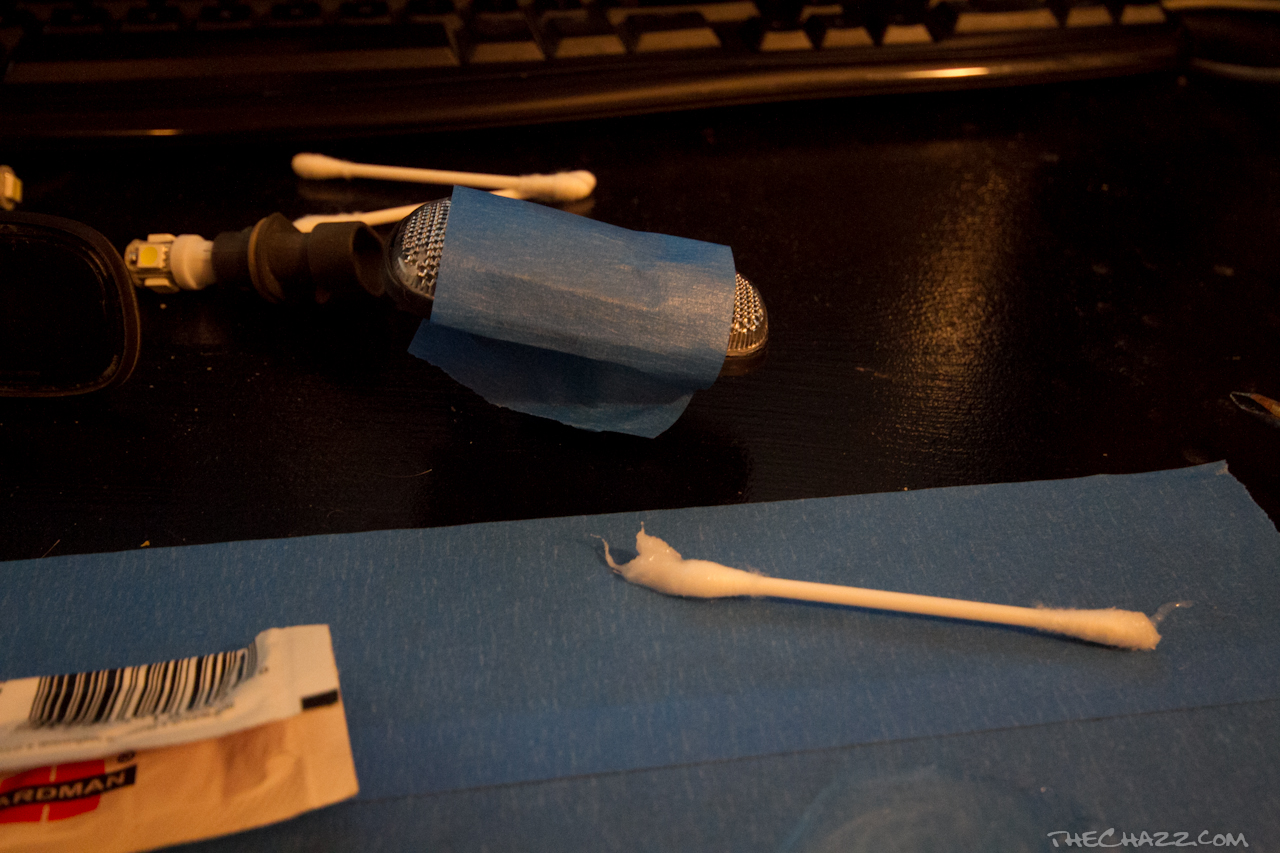
Re-install the lens onto the housing, and once in place wipe away any excessive adhesive before it drys as its not removable once dry! Then wrap a pice of tape around the lens to hold it in place fore a few minutes while the Epoxy cures. 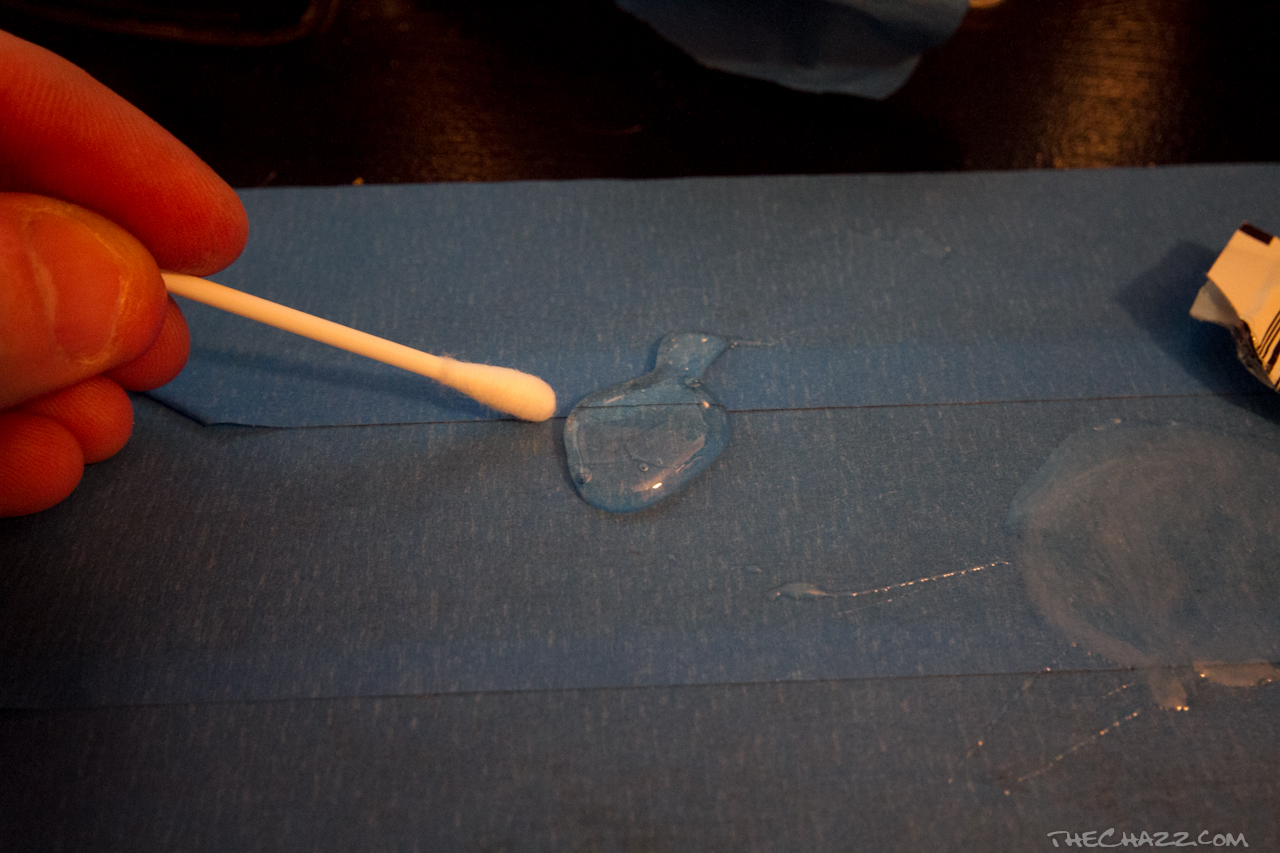
Step 5:
After 5-10 minutes remove the tape and the lenses should be cured. Blow into the back of the housing where the bulbs go to ensure there are no leaks.
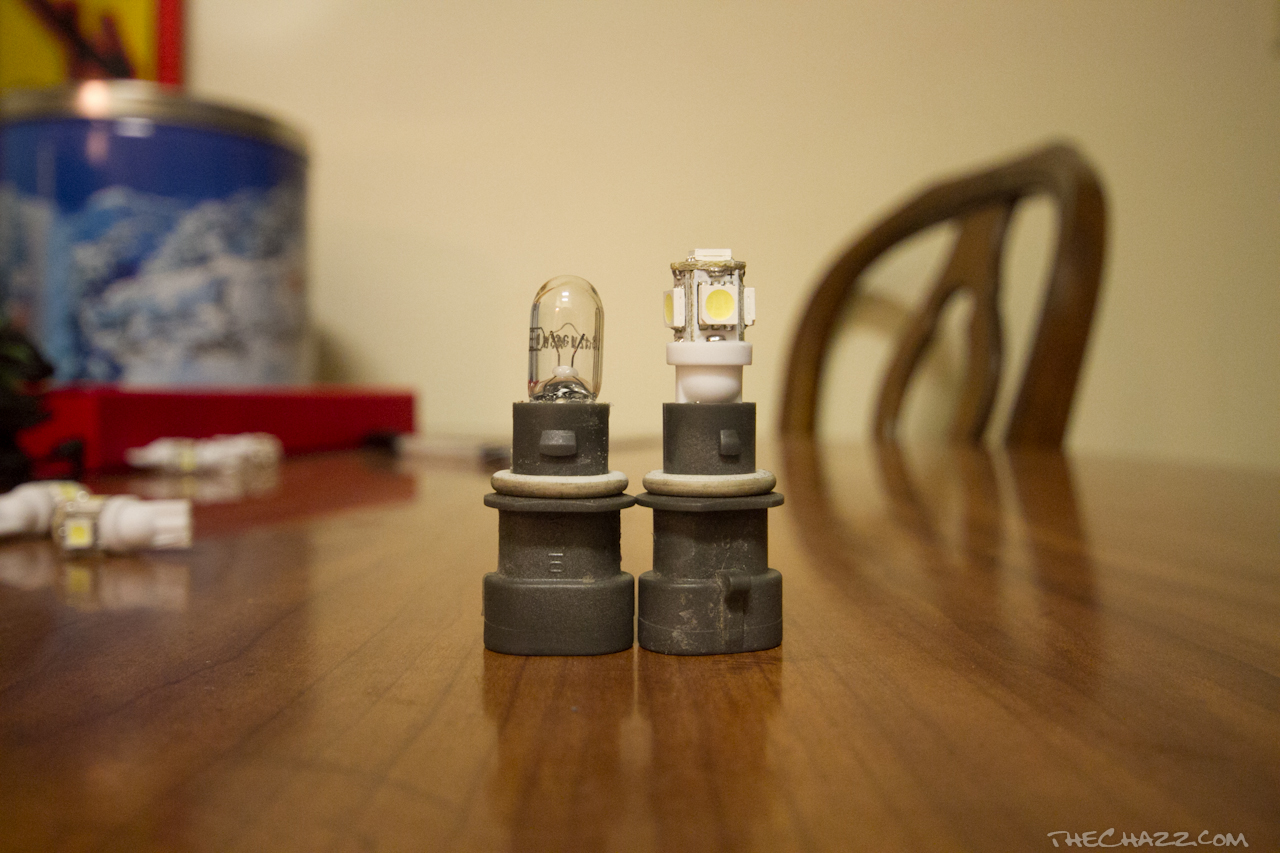
Below is an image of the OEM bulb next to the 5 SMD LEDs I used. You can see how the caps inhibit use of the LEDs because of there additional length.
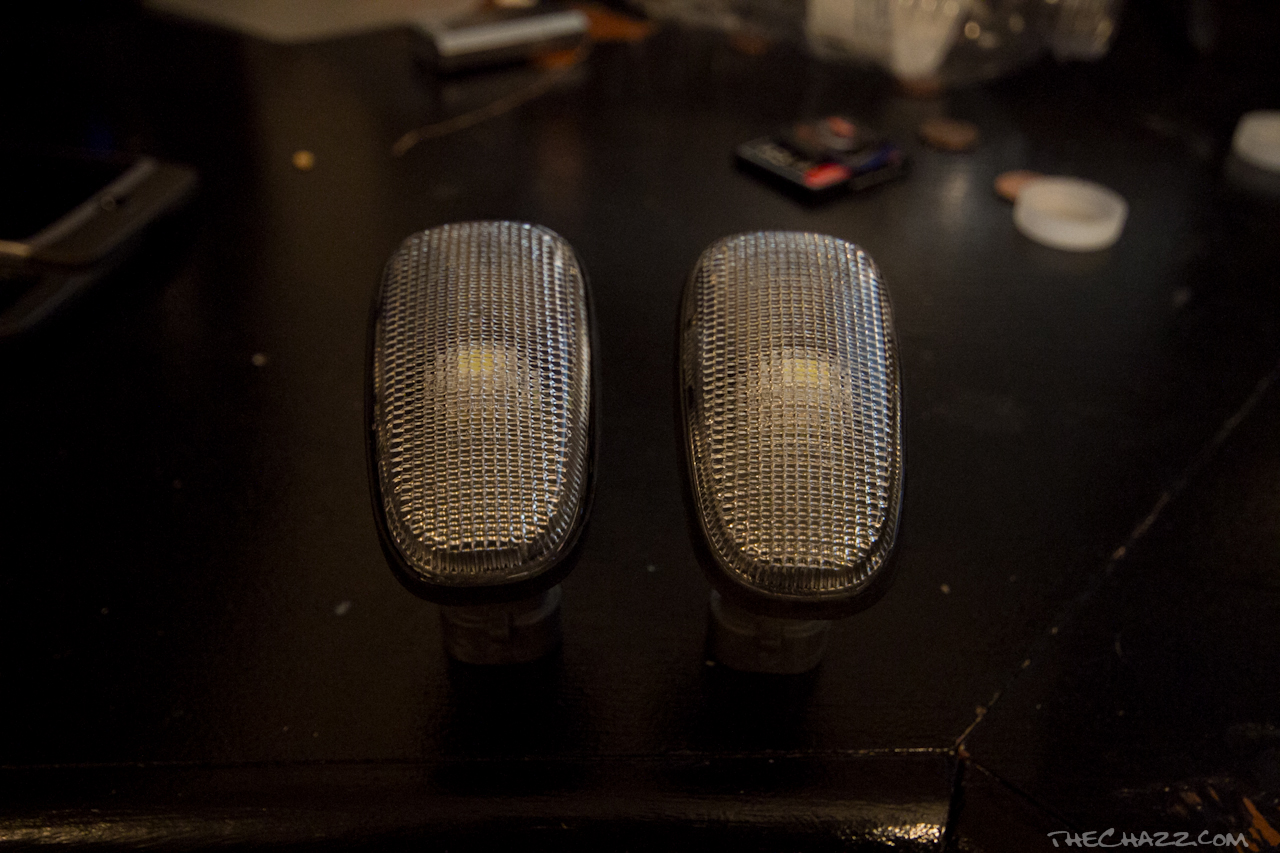
 At this point Install the bulbs into the sockets and test-fit them into your clear lenses!
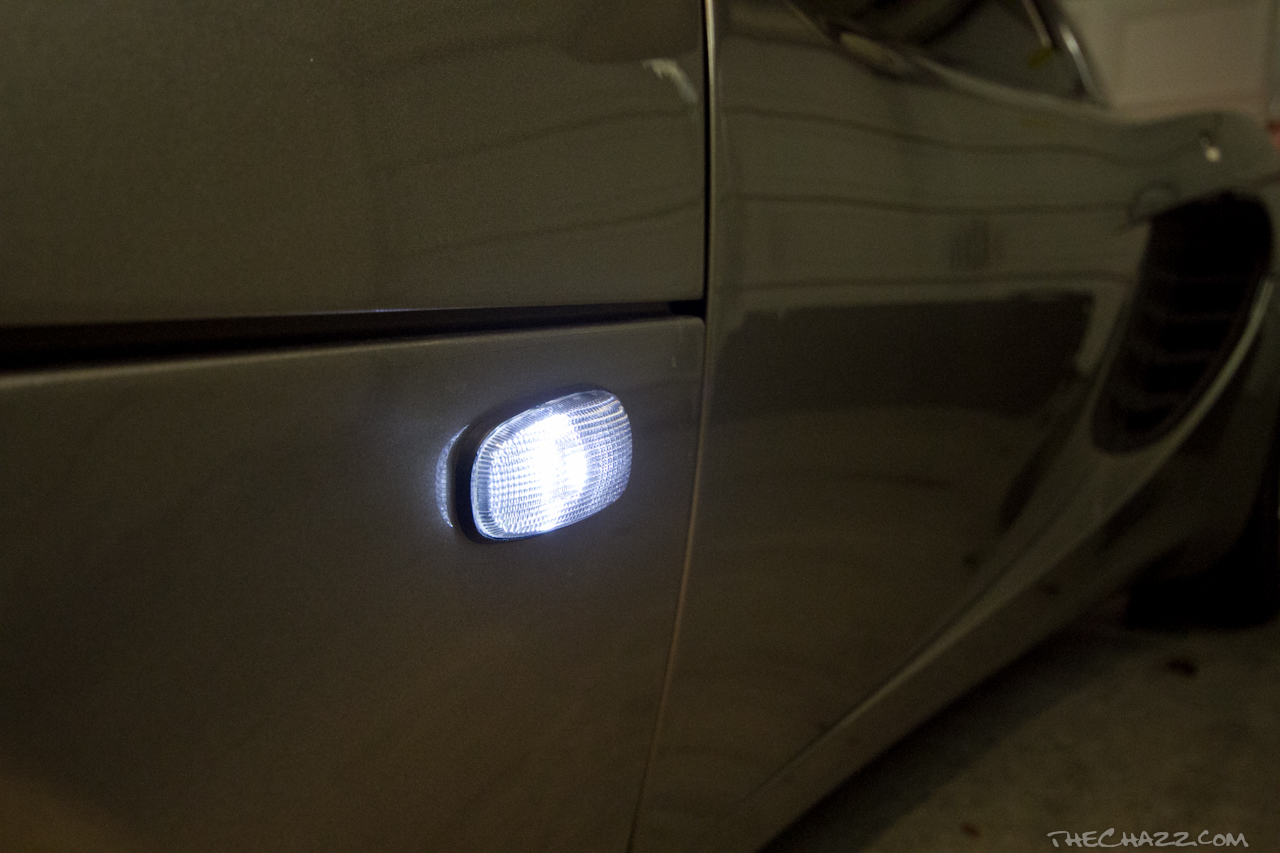
 At this point Plug the sockets back into the harness on the car BUT DO NOT RE-INSTALL THE FIXTURES! TEST THE BULBS FIRST! If they do not Function, flip the bulbs in the sockets as they ARE polarity sensitive! If they still don’t work be sure the bulb contacts are not bent out of contact.
Step 6: (Final)
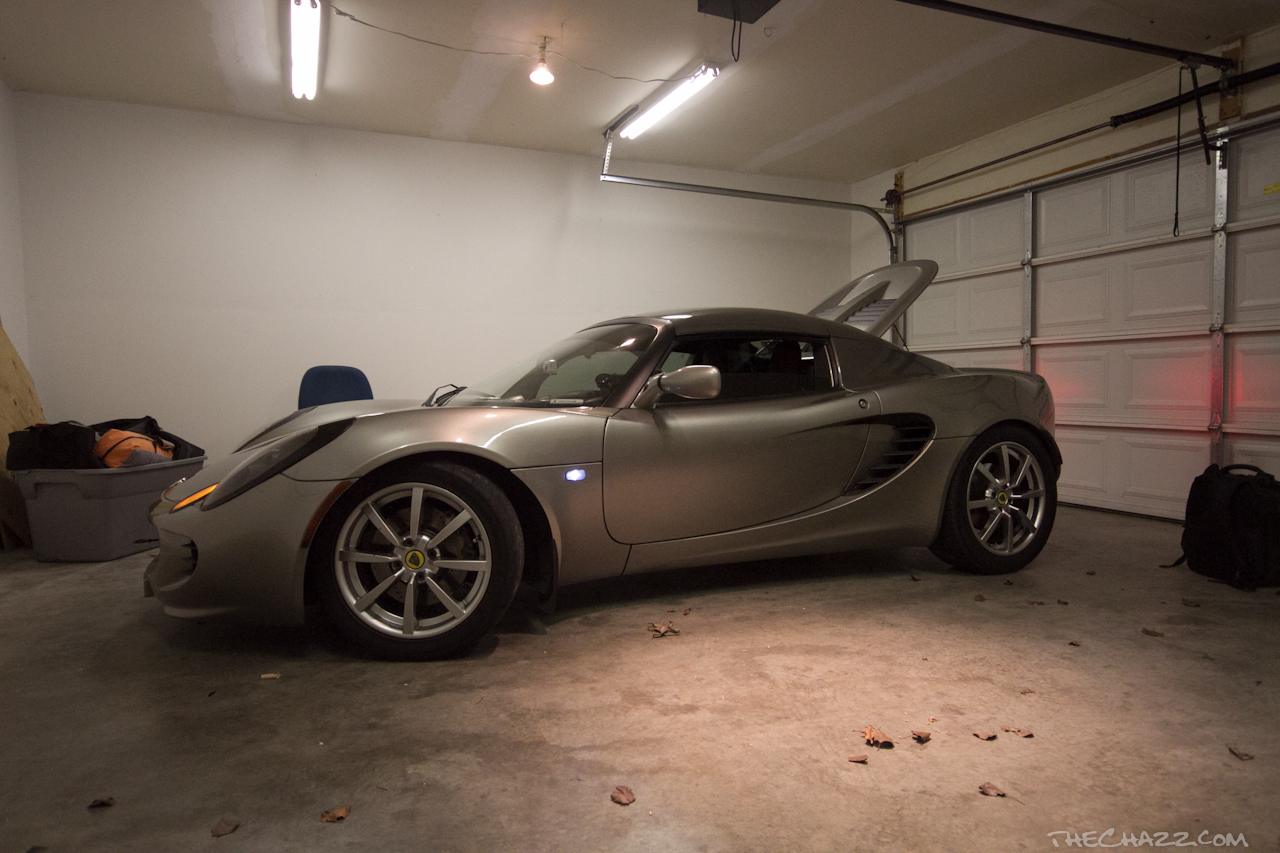
As long as everything functions correctly, Clean the body panel where the lens mates with the car with some quick detail, and simply snap the fixtures back into place! Double test them to ensure function. Enjoy!

One thought on “Lotus Elise/Exige Cleared Side turn-signals”